LINE message (β)
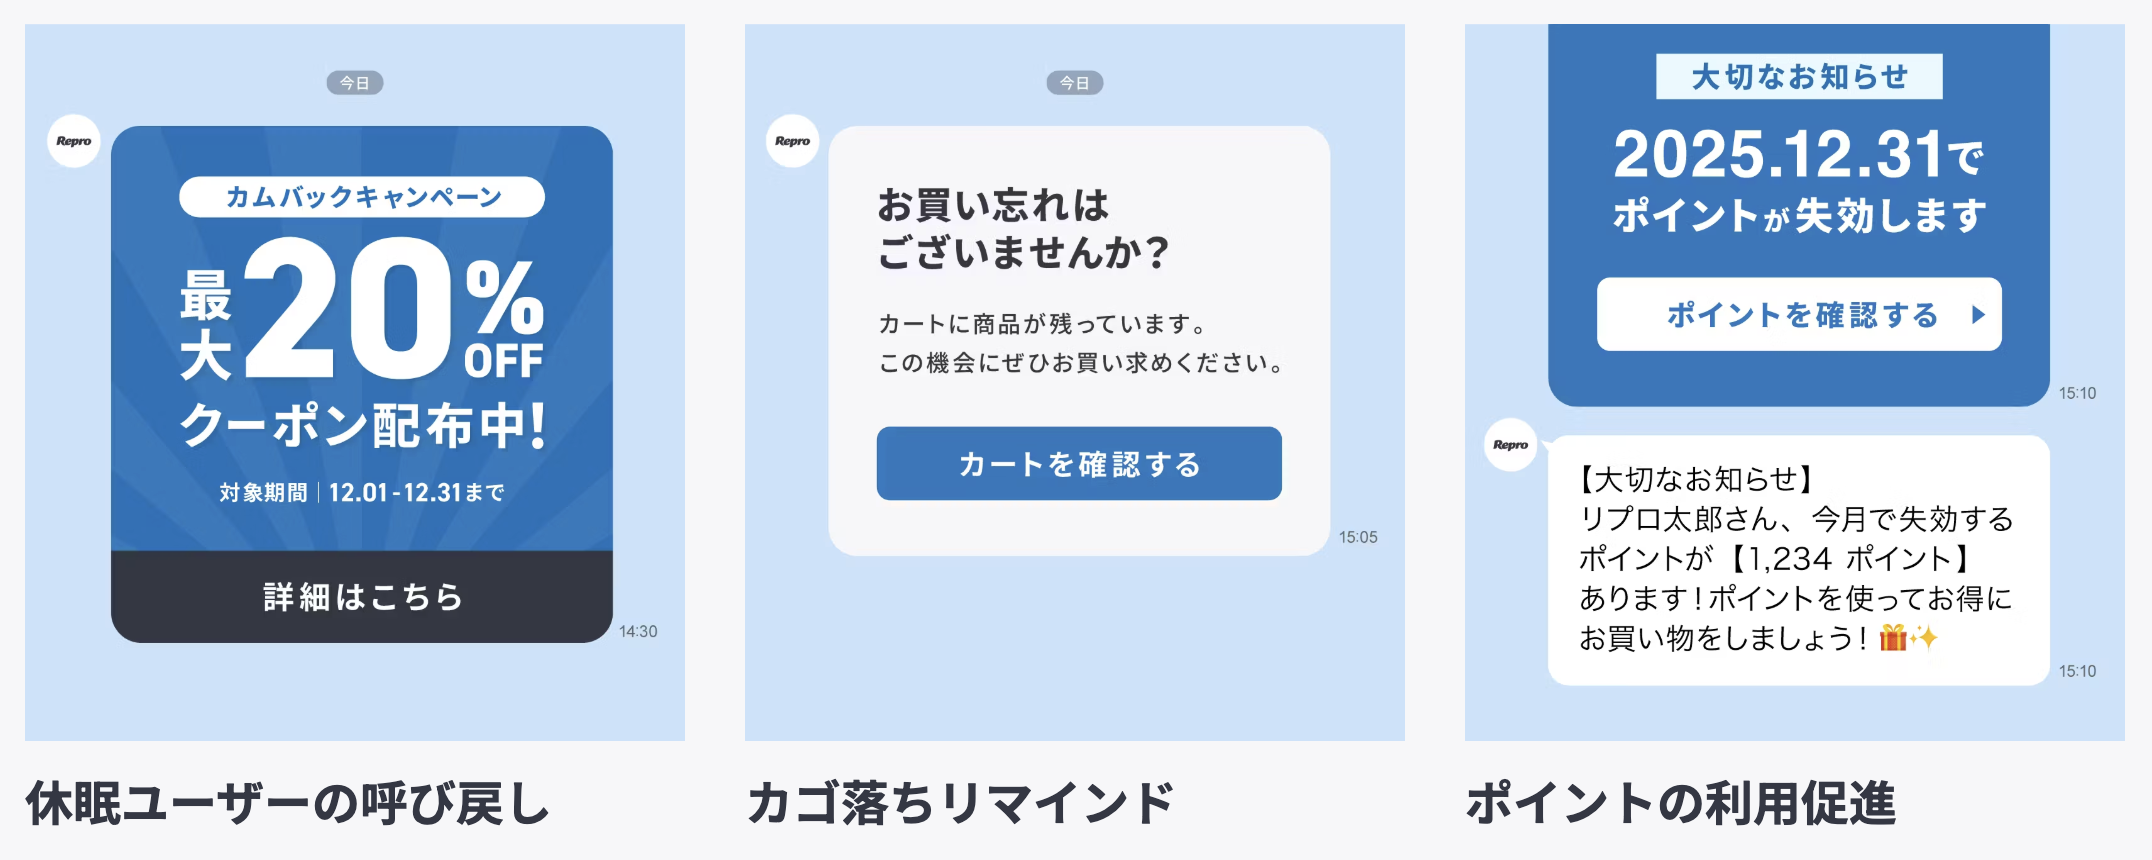
Achieve flexible audience segmentation by combining user profiles and events. You can also trigger delivery based on user behavior, enabling highly engaging campaigns that deliver messages at the optimal timing.
Steps required to deliver LINE messages
Flow until delivery
Create a new LINE channel and complete the initial setup from LINE Channel Settings.
Refer to Registering LINE User ID to Repro to register LINE user data to Repro.
Create and send LINE messages from the Repro dashboard.
Create a new LINE message
Navigate to the LINE message creation screen
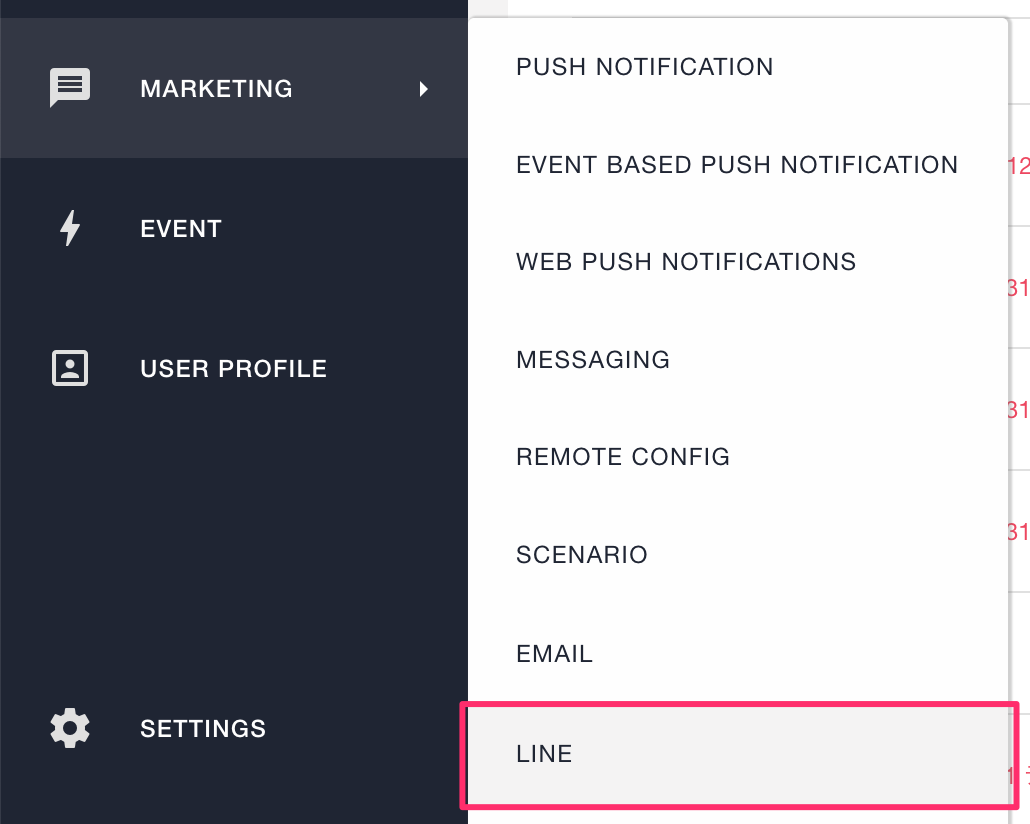
Log in to the dashboard, click ‘Marketing’ → ‘LINE’ from the left menu, and go to the LINE campaign list page.
After the list page is displayed, click the ‘New LINE’ button at the top right to open the LINE message creation screen.

Enter campaign information
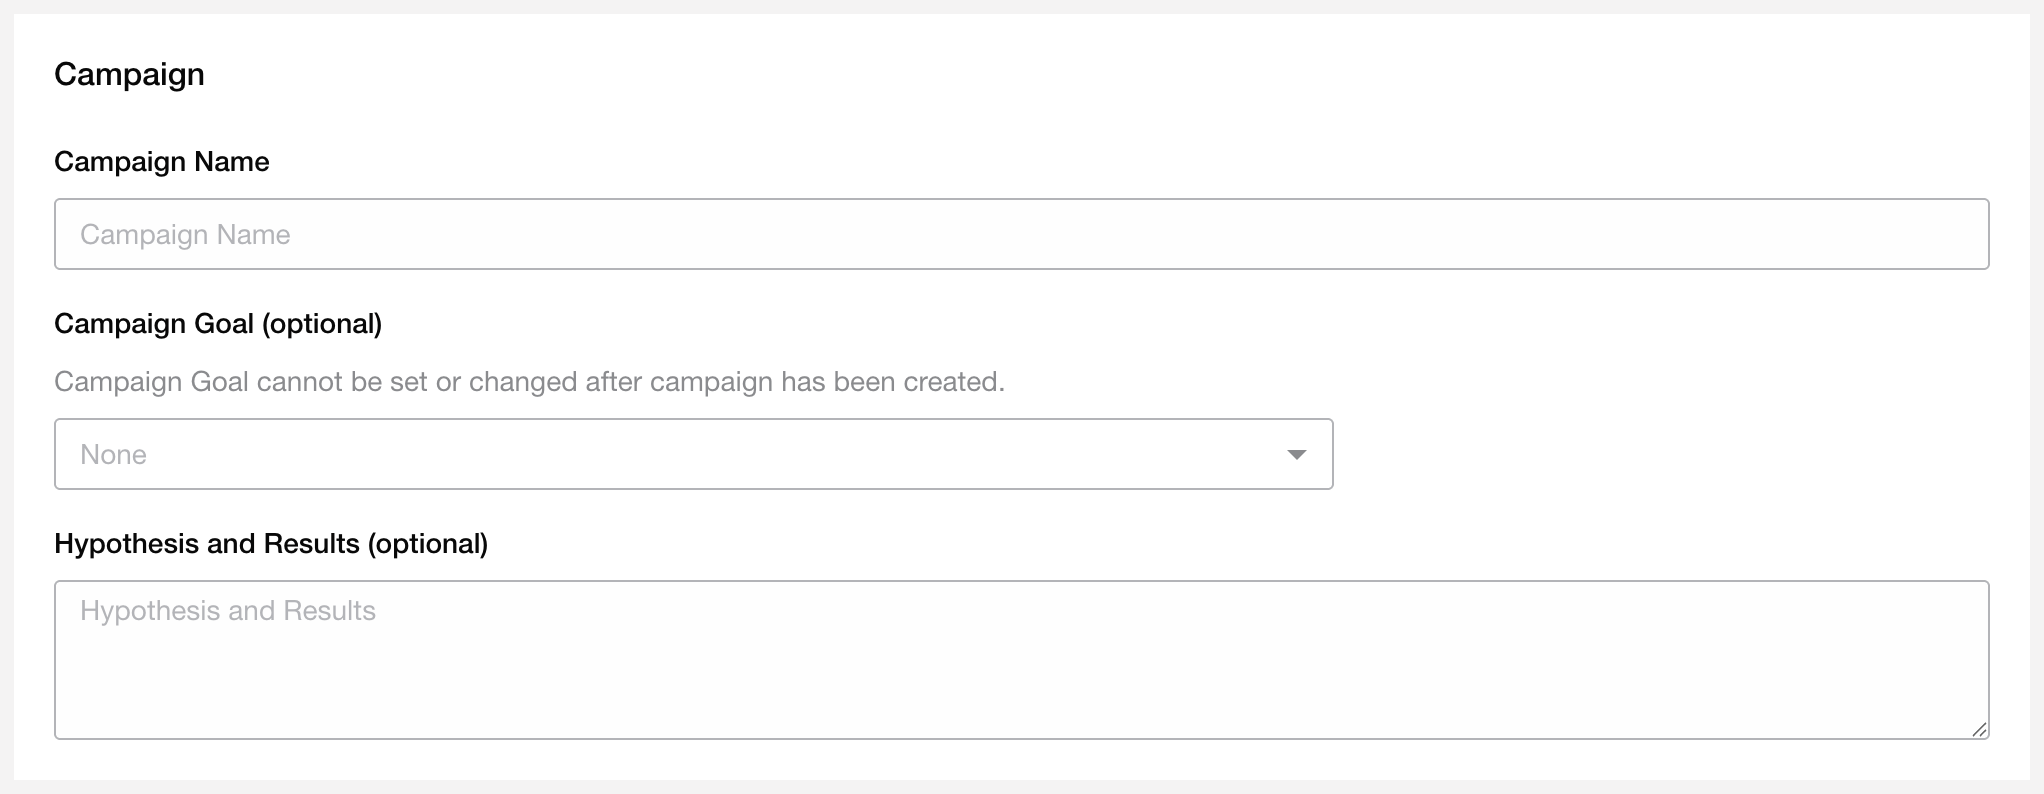
Campaign Name — Enter the name of the LINE campaign.
Campaign Goal — Select the event that represents the goal of the campaign.
Campaign Objective and Results — Record the objective and results of the campaign. This serves as a note for administrators.
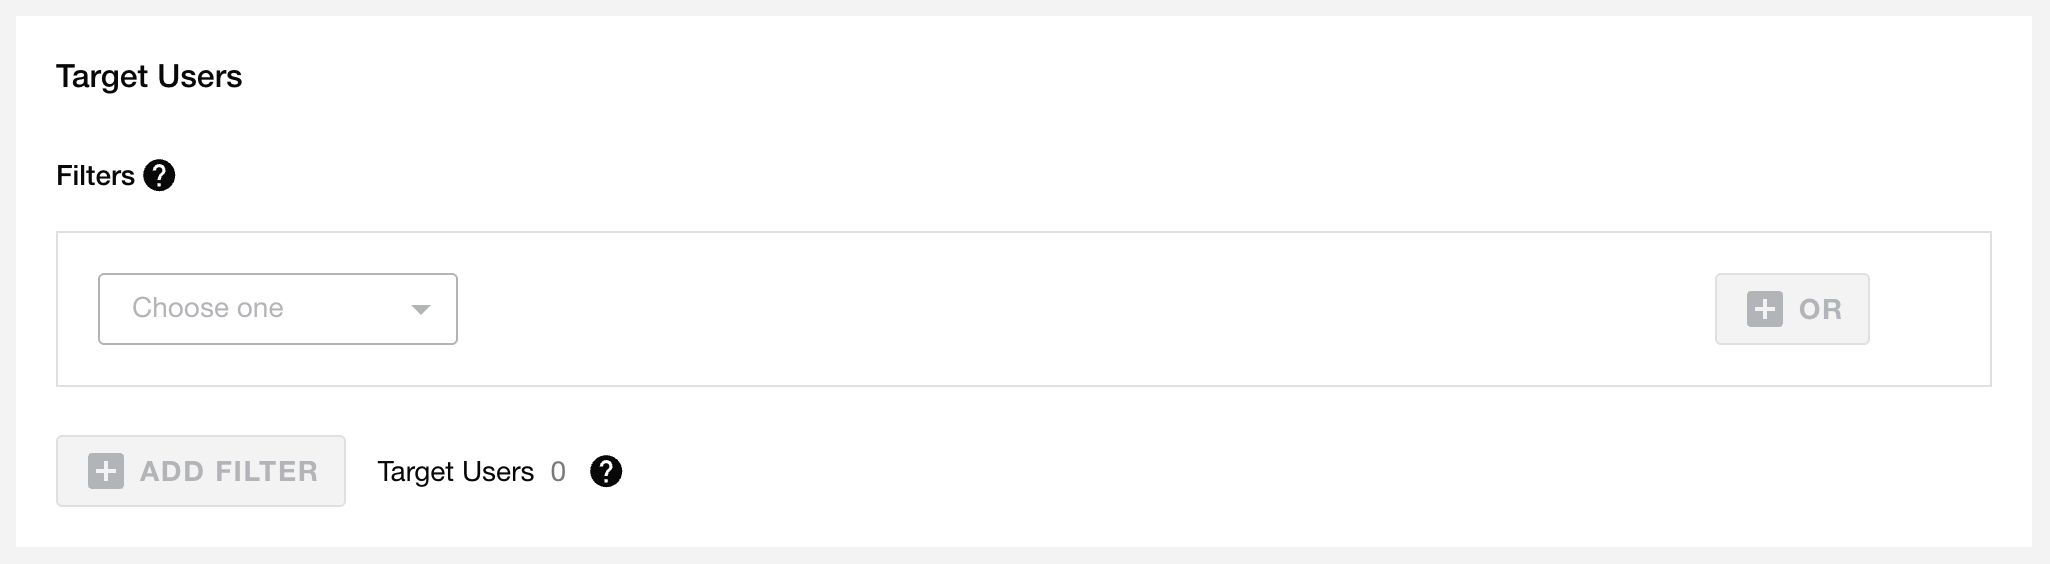
Set delivery target
Specify the target users for the campaign. You can use filters to narrow down which users will receive the message.
Warning
The user count may include users who do not have a registered LINE User ID.
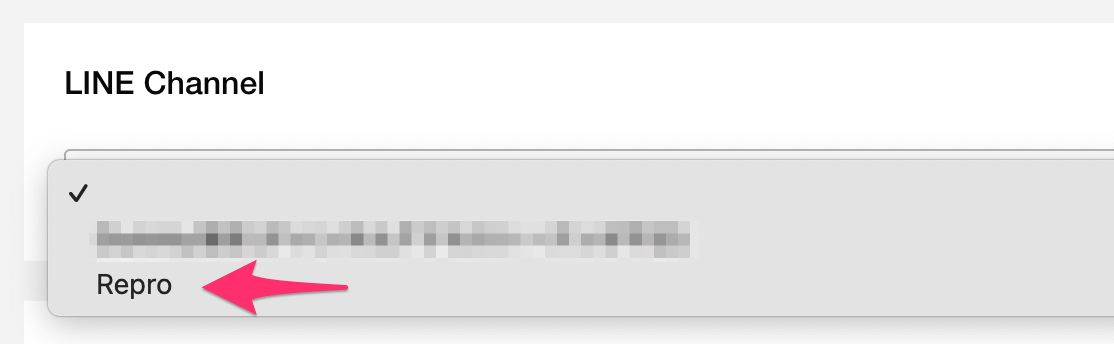
Specify the LINE channel
Select the LINE channel to use for message delivery.
Enter delivery settings
Configure the delivery time, scheduling, or immediate delivery settings.
Trigger-based delivery
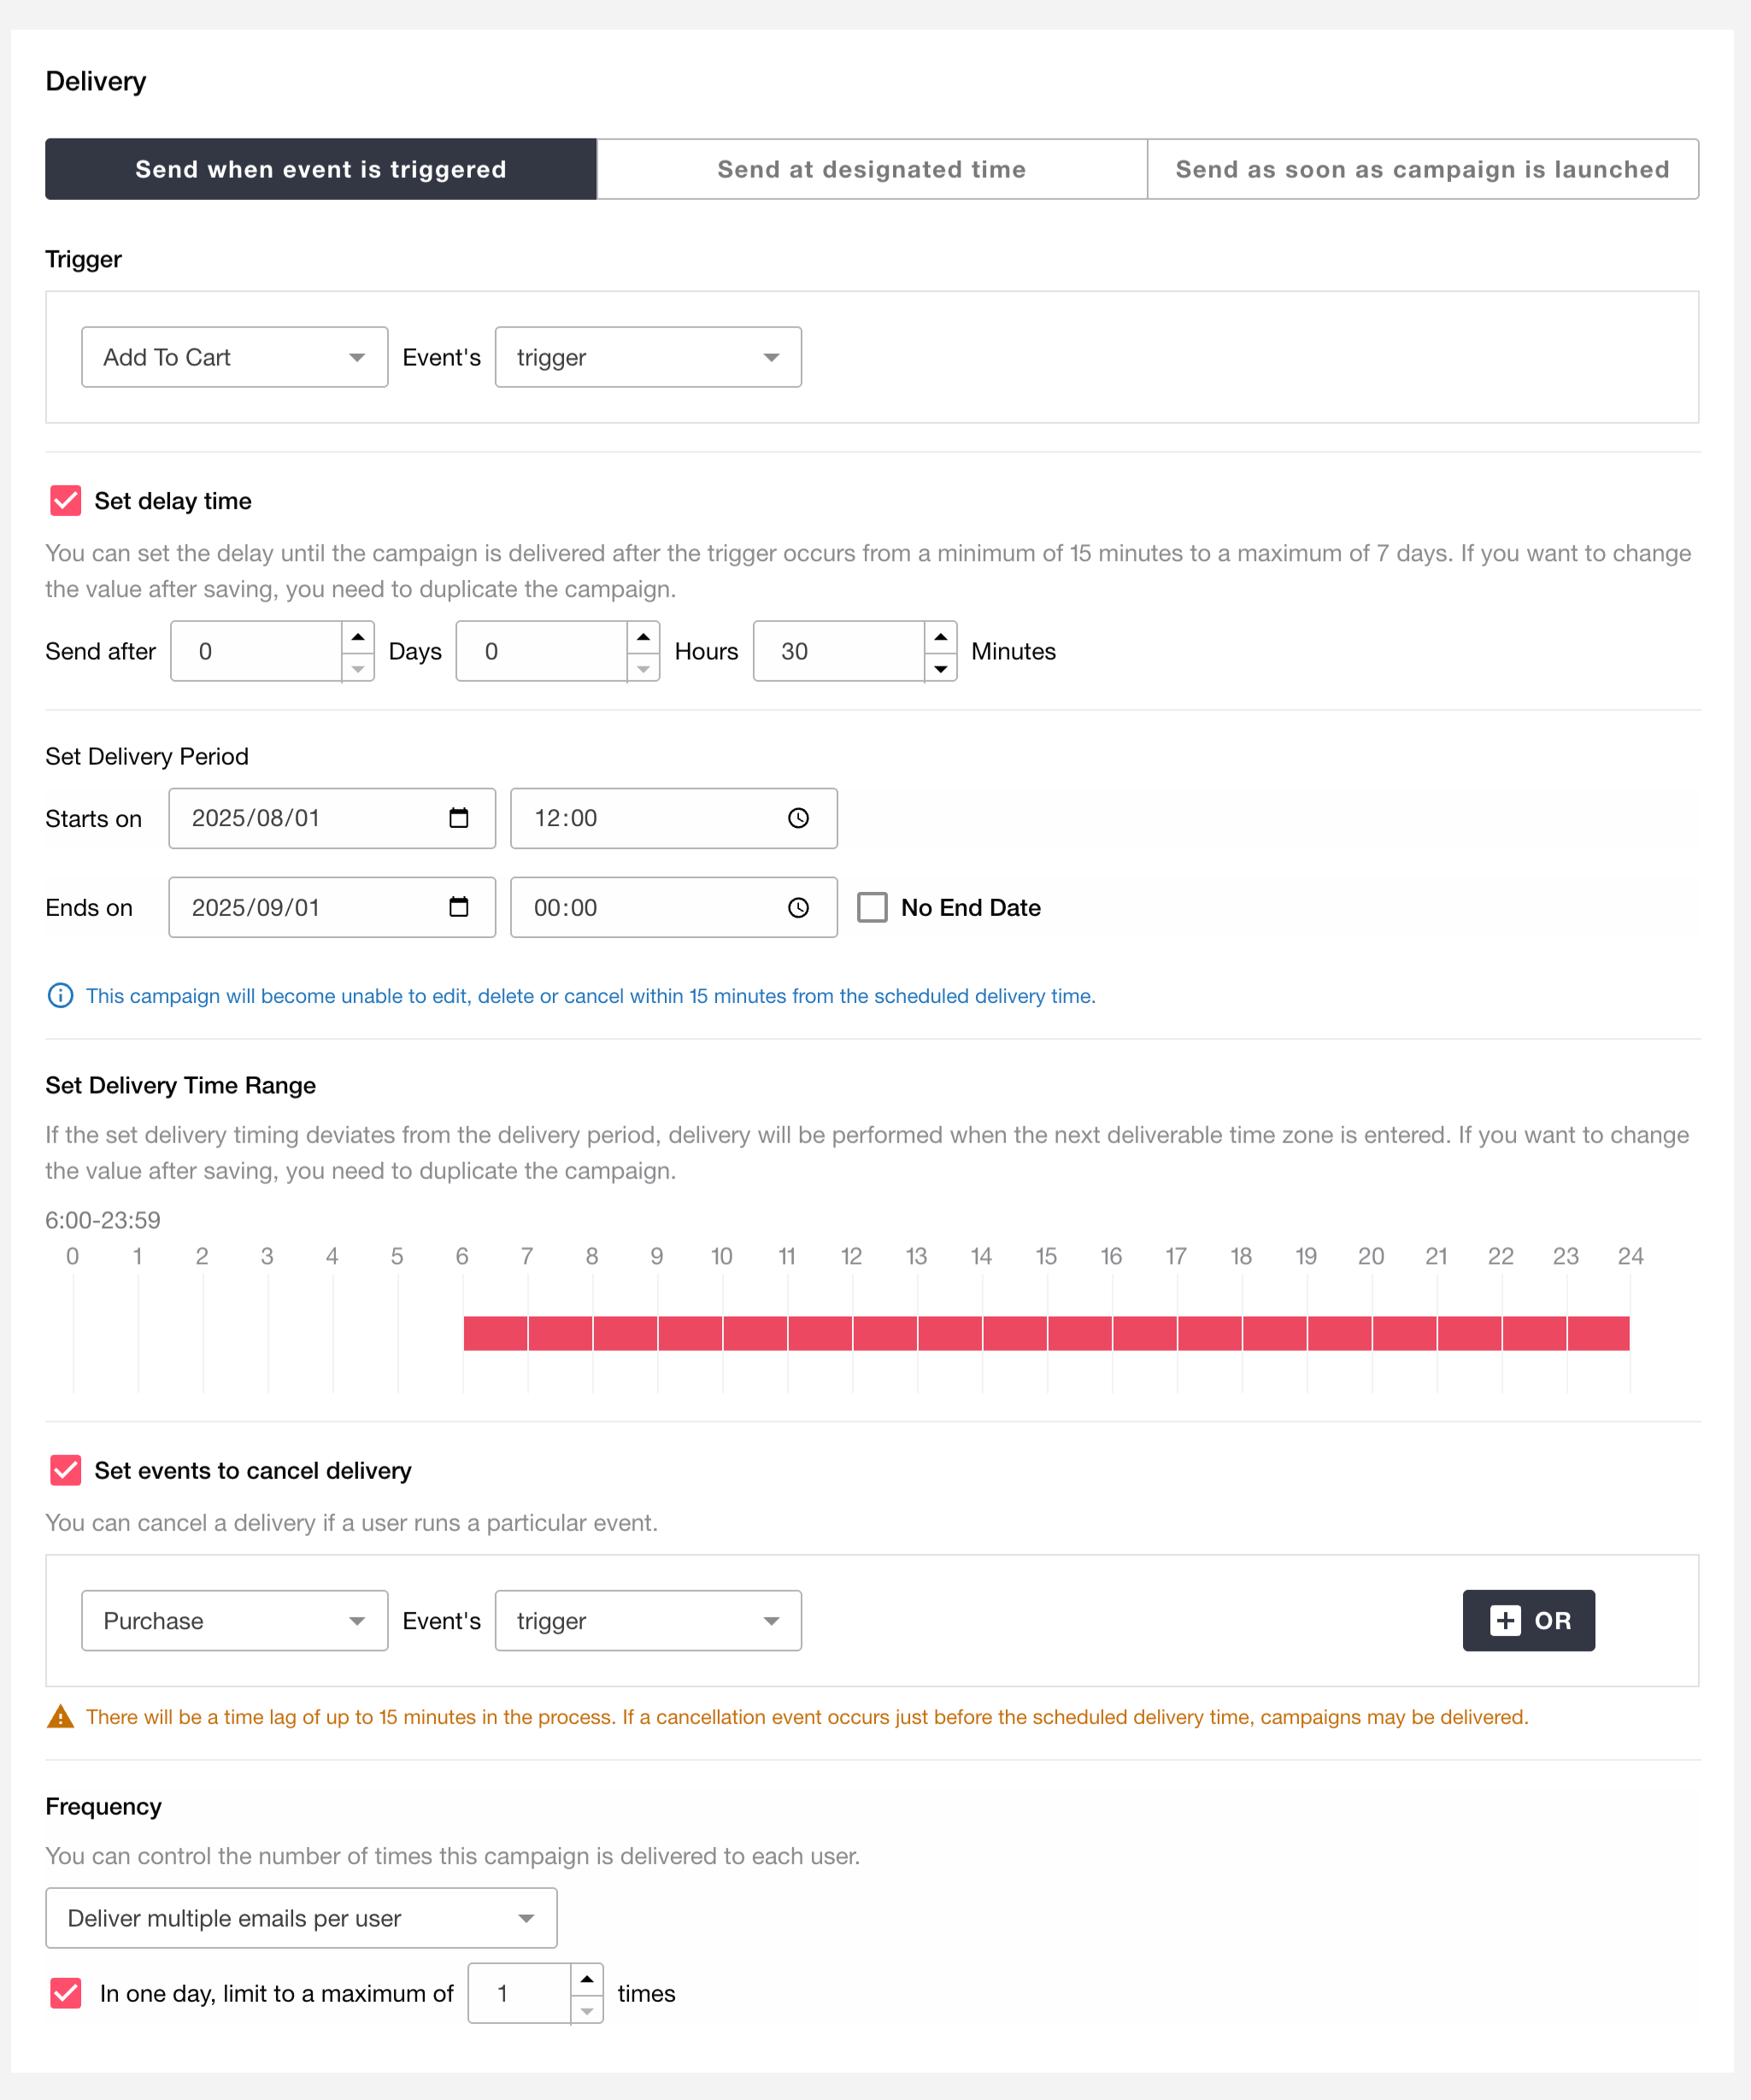
Specify the event or property that will trigger the LINE message delivery.
You can specify up to 5 events as OR conditions.
You can choose whether to deliver the message immediately after the specified origin event is executed or after a certain amount of time has passed.
However, it may take several minutes to several dozen minutes depending on the congestion of the server, even if you have set up immediate delivery.
The elapsed time can be specified from 15 minutes as minimum to 7 days as maximum.
Set the delivery period.
Once a campaign is saved, the delivery period cannot be changed. If you want to change it, please duplicate the corresponding campaign.
Set the delivery time range. To prevent delivery at unintended times such as midnight or early morning, you can set the time when delivery is allowed.
If the trigger event occurs outside the defined delivery window, the message will be sent at the next available delivery time.
If the campaign period ends before the next delivery window, the LINE message will not be sent.
Once a campaign is saved, the delivery time range cannot be changed. If you want to change it, please duplicate the corresponding campaign.
In order to stop delivery to unintended users, you can select an event to cancel delivery.
Depending on the timing of the event to cancel the delivery, such as just before the delivery or triggered time close to cancel, the delivery may be made as is.
To prevent multiple deliveries in a single day, you can set a delivery frequency limit.
If an event that occurs multiple times a day is used as a trigger, a large number of LINE messages may be sent.
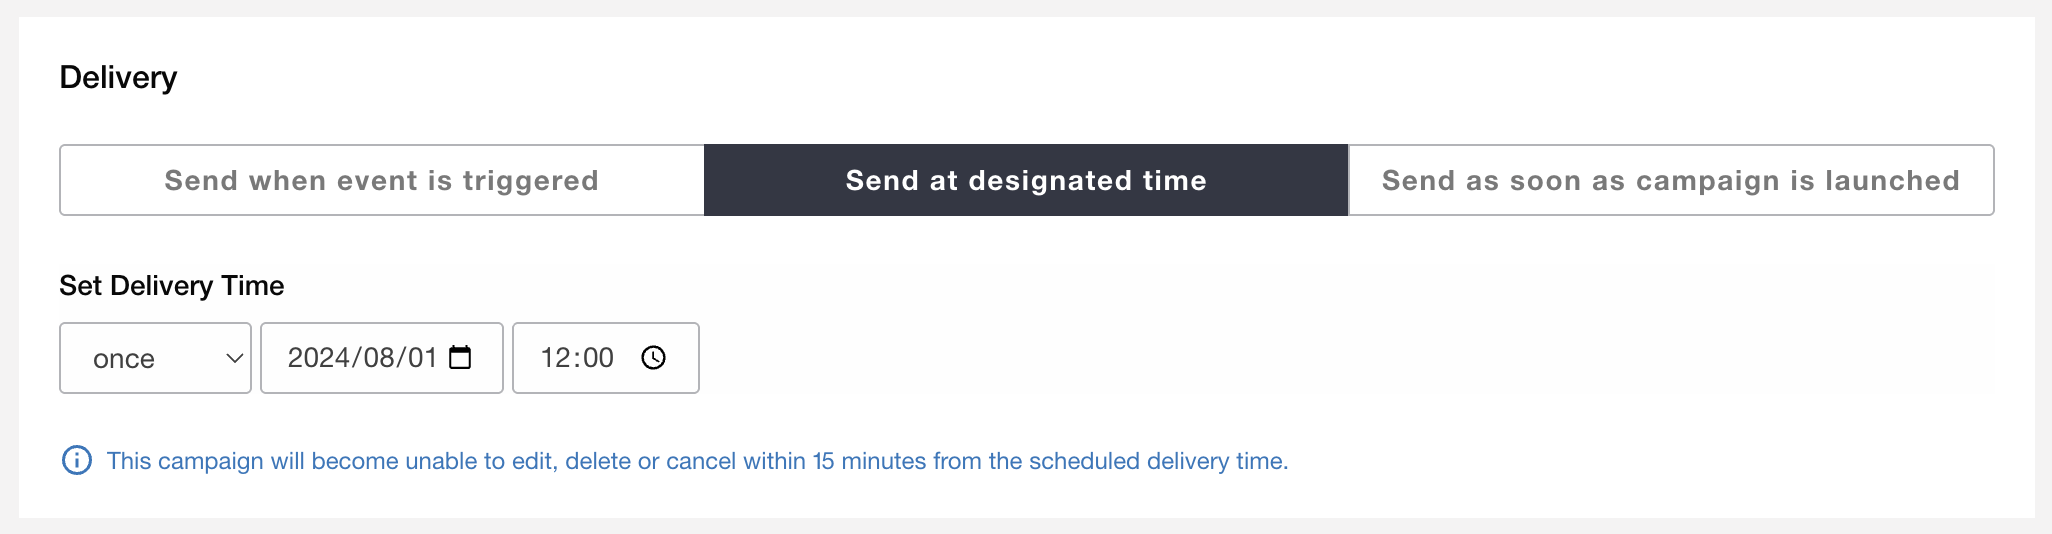
Scheduled delivery
Send LINE messages to all target users at the specified time.
You can choose the delivery frequency: Once, Daily, Weekly, or Monthly.
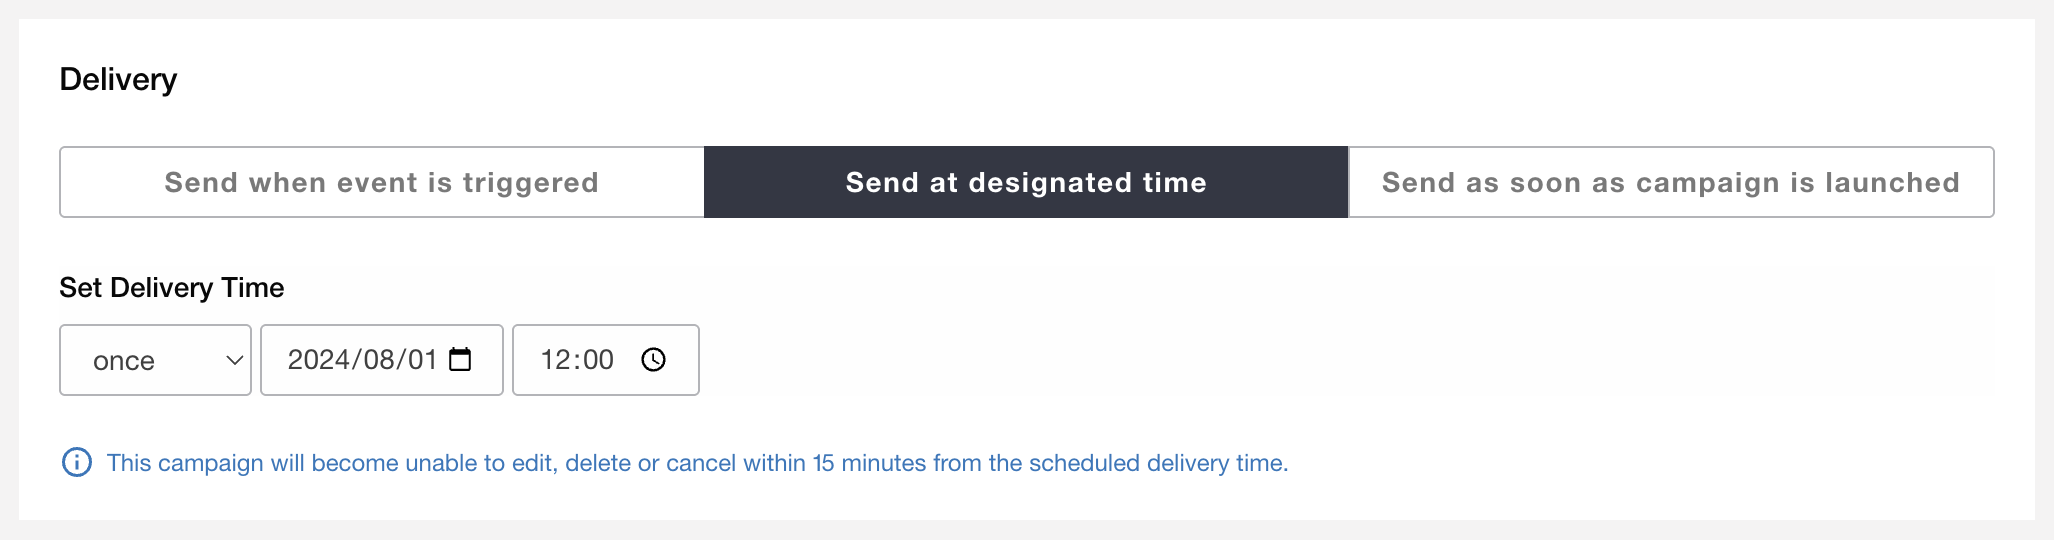
Send once
Specify the delivery date and time to send a message only once. You cannot set a past date or a time within 15 minutes from now.
Send daily
Specify a delivery period and time to send LINE messages daily. For example, you can deliver messages every day at 9:00 AM from August 1 to August 31, 2025. If you check ‘No end date’, the campaign will continue sending messages until it is unpublished (stopped).

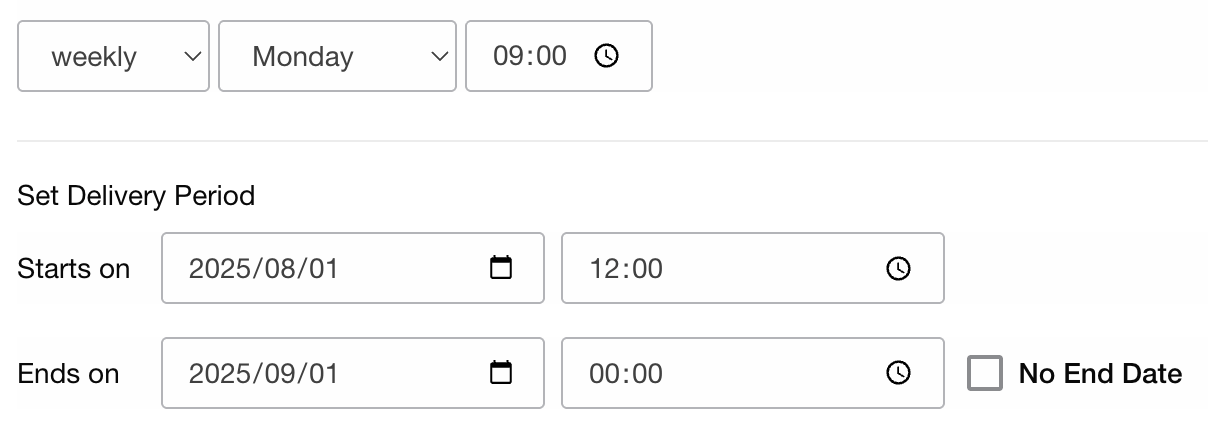
Send weekly
Specify a delivery period, day of the week, and time to send LINE messages weekly. For example, you can deliver messages every Monday at 9:00 AM between August 1 and August 31, 2025. If ‘No end date’ is checked, the campaign will continue until it is unpublished (stopped).
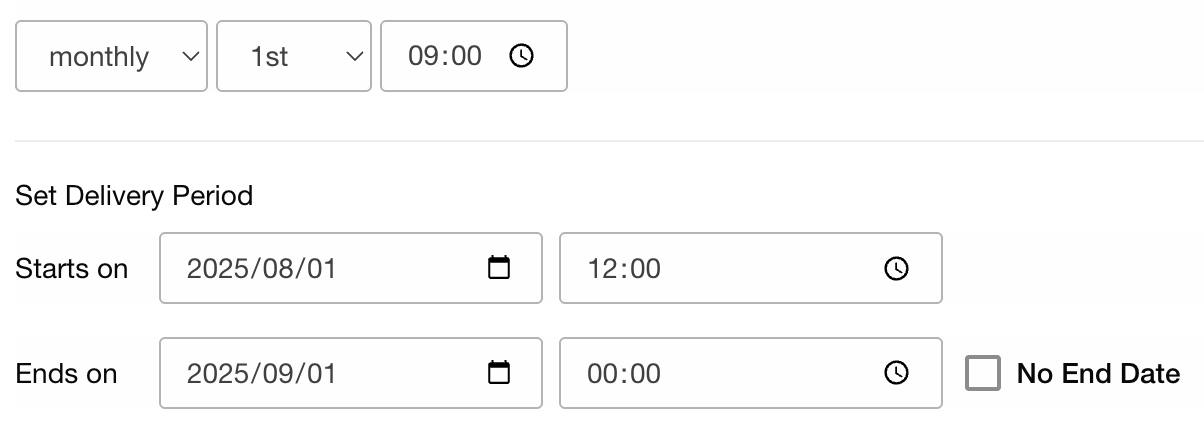
Send monthly
Specify the delivery period, day of the month, and time to send LINE messages monthly. For example, messages can be sent on the 1st of each month at 9:00 AM from January 1 to December 1, 2025. If ‘No end date’ is checked, the campaign continues until it is unpublished (stopped).
Start delivery immediately after publishing
Send the LINE message immediately after the campaign is published.

Create message content
Creation mode

There are two creation modes for LINE messages: Standard and Custom.
Standard
Create messages easily using a visual editor. You can preview the message in two modes: ‘Chat Room’ and ‘Talk List’.
Supported message types
Text message
Image message
Rich message
Card type message
Rich video message
Custom
Create content using JSON. The Custom mode supports message types not available in Standard mode, including flexible layouts using Flex messages.
Supported message types
All types that can be sent via LINE Messaging API
Note
When switching from Standard to Custom, the current Standard settings are carried over as JSON.
Changes made in Custom mode cannot be transferred back to Standard mode.
You cannot change modes for campaigns that are not in draft status.
In both modes, you can send up to five messages simultaneously.
By entering multiple message JSON objects separated by commas within
[], up to five messages can be sent at once.When multiple messages are sent simultaneously, they count as a single LINE message delivery.
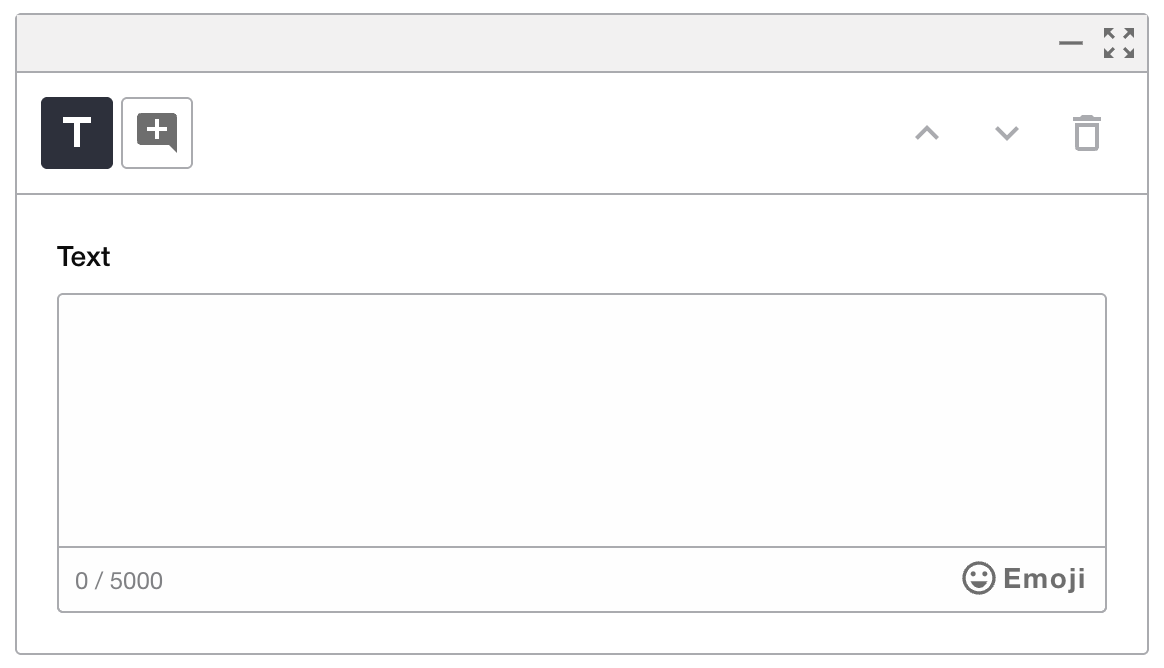
Create a text message
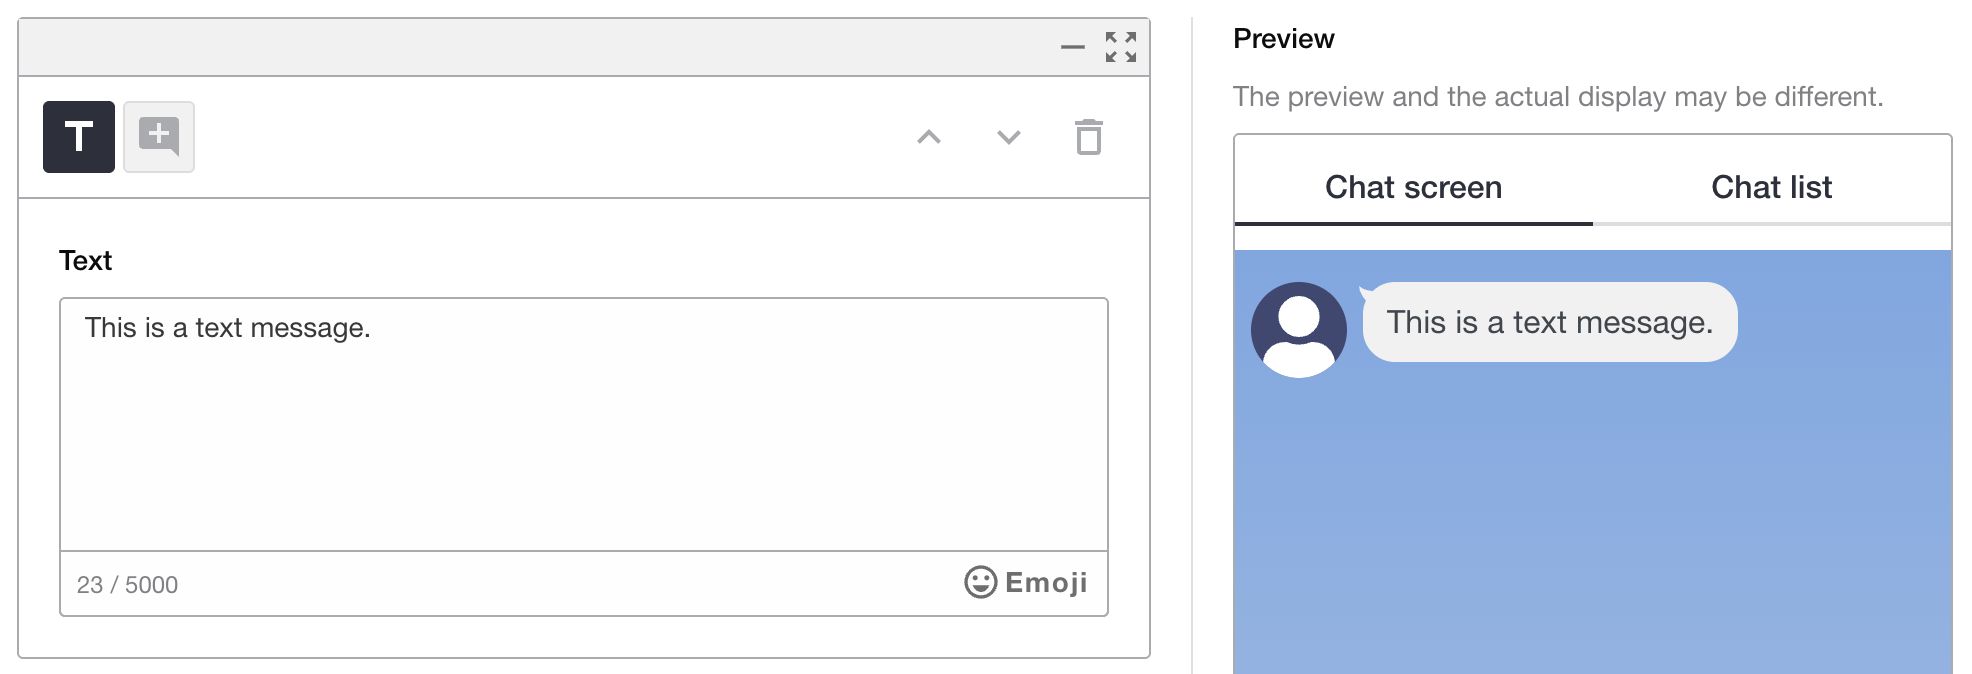
A text message is the most basic format in LINE messages. It contains only text, allowing you to communicate information simply. Click the [Emoji] button to insert emojis.
Note
You can enter up to 5,000 characters per message.
URLs entered in the text are automatically converted into clickable links.
Create an image message
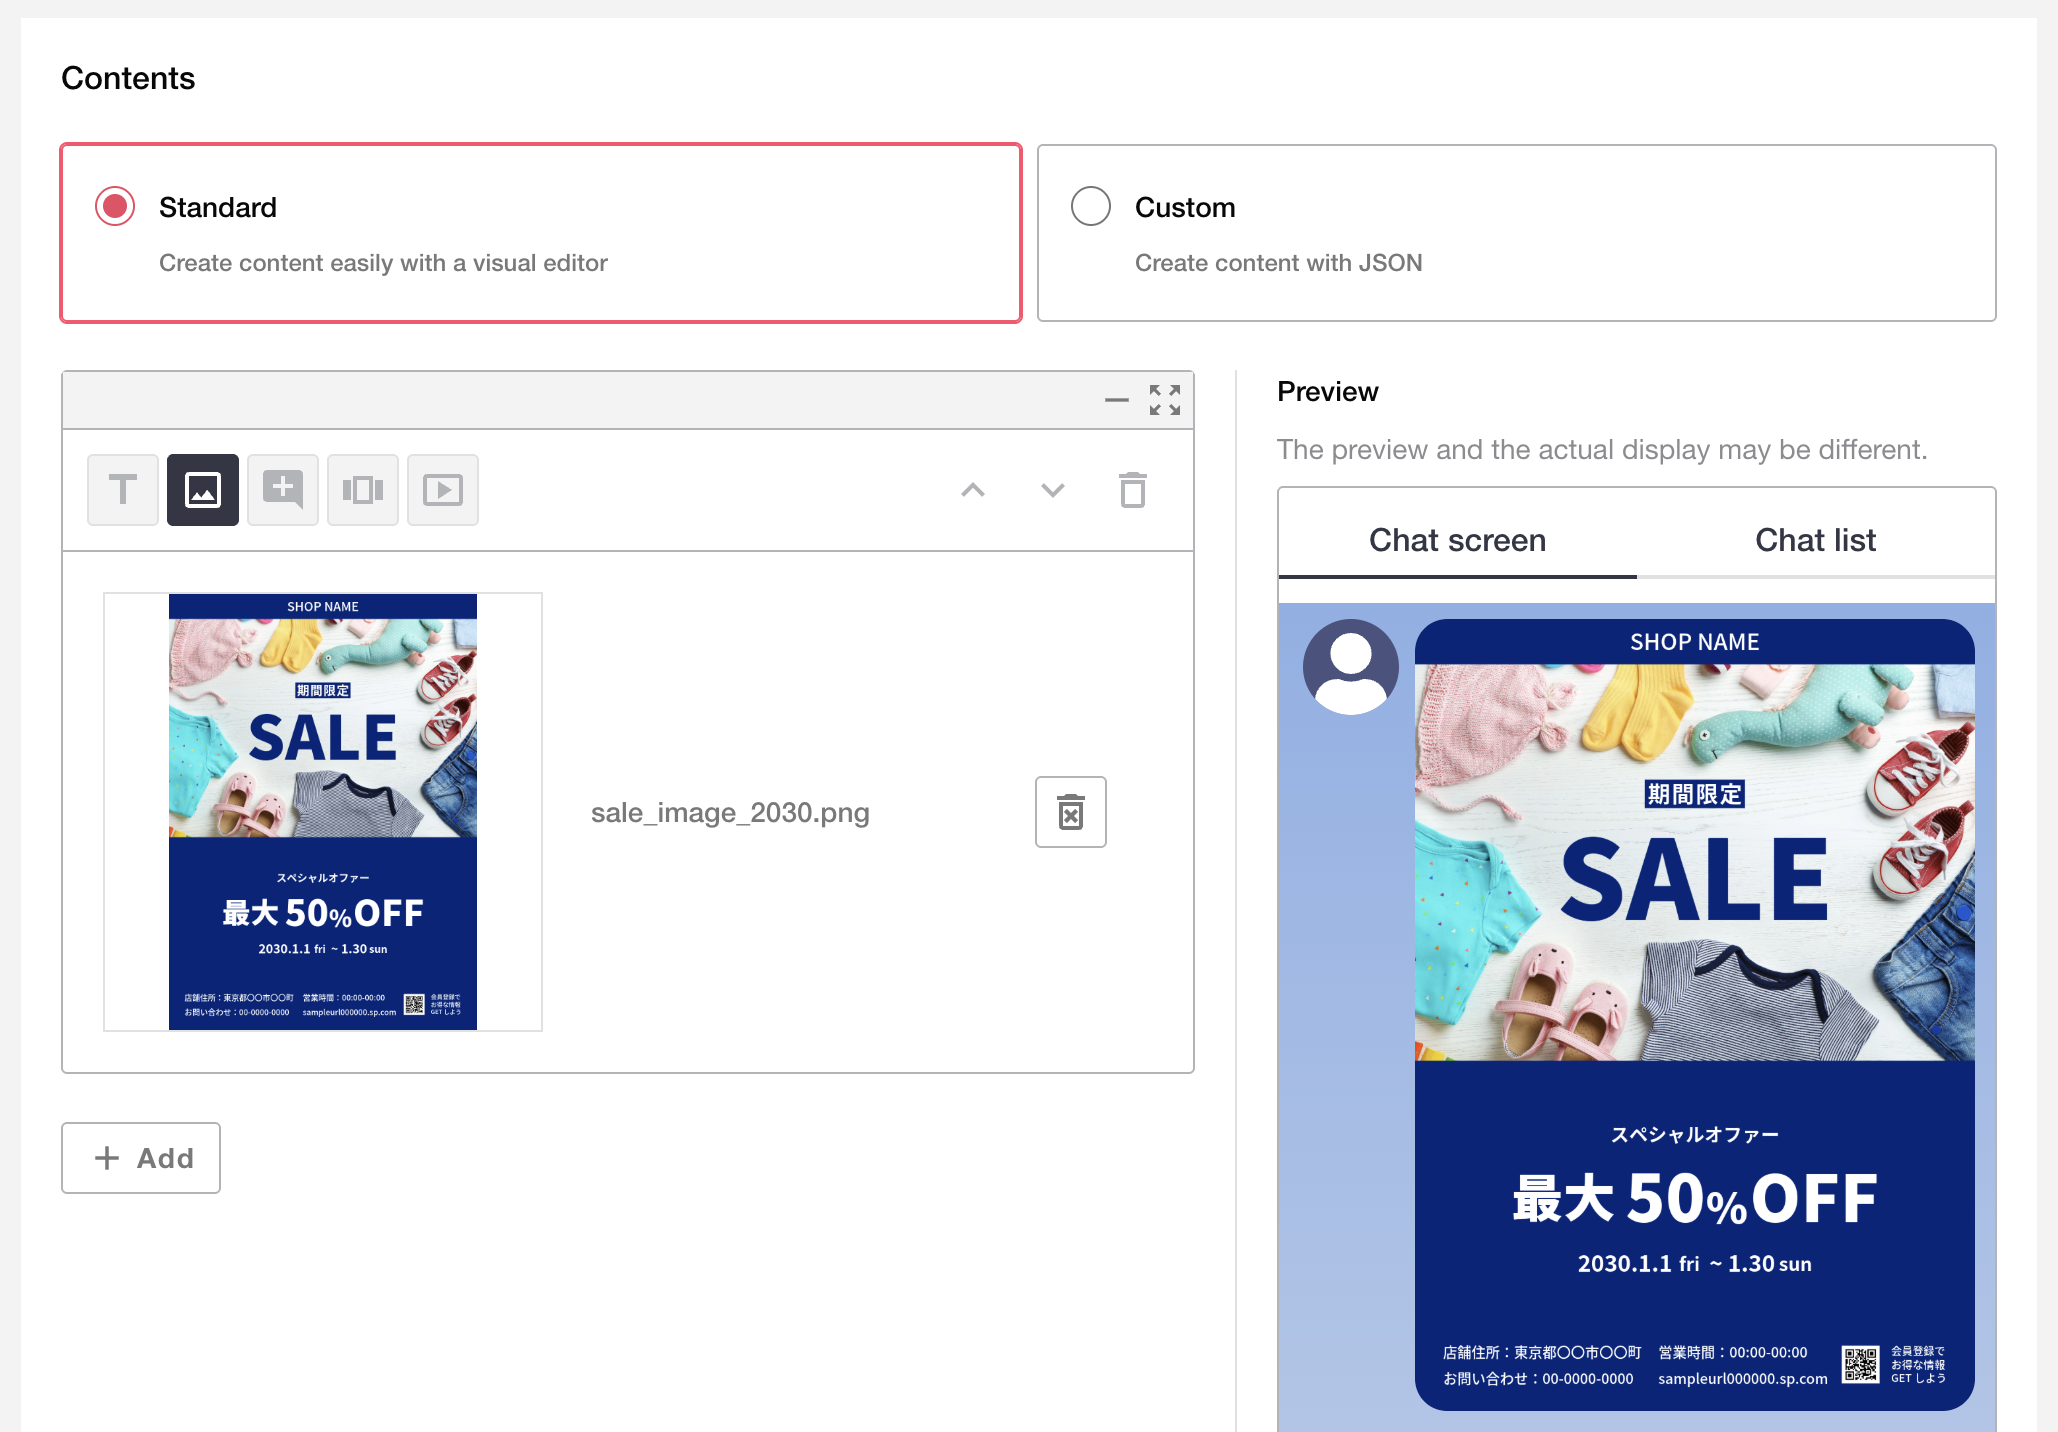
An image message is a simple message format that allows you to send a single image. It is effective for showcasing product images or campaign visuals. When users tap the image displayed in the chat screen, the original image is shown in an enlarged view.
Upload an image
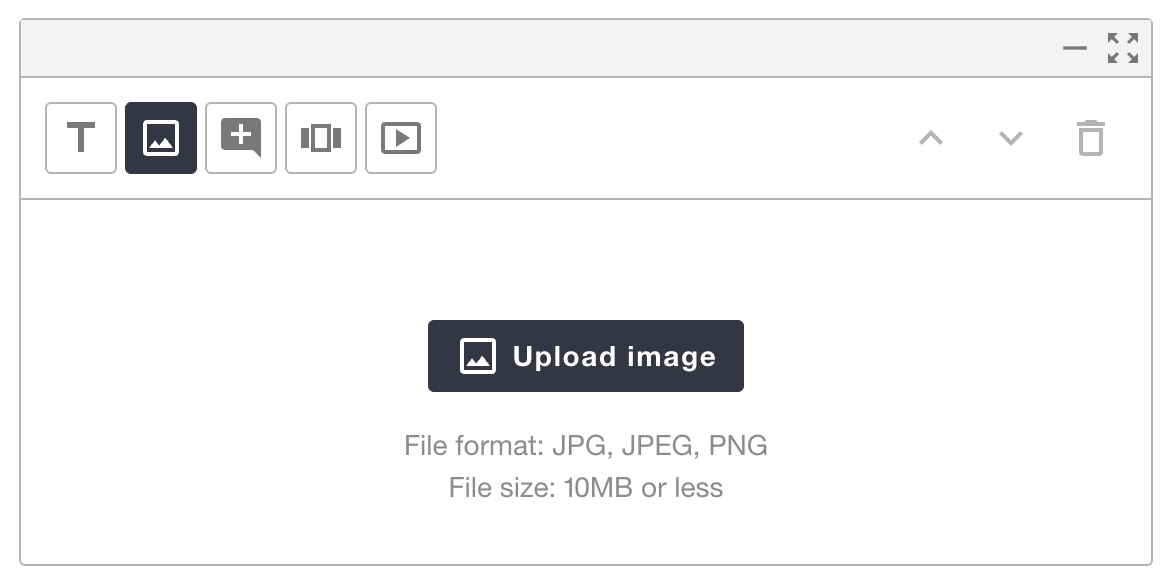
Click the [Upload Image] button to upload an image.
Note
File format: JPG, JPEG, PNG
File size: 10 MB or less
There is no restriction on image resolution.
Create a rich message
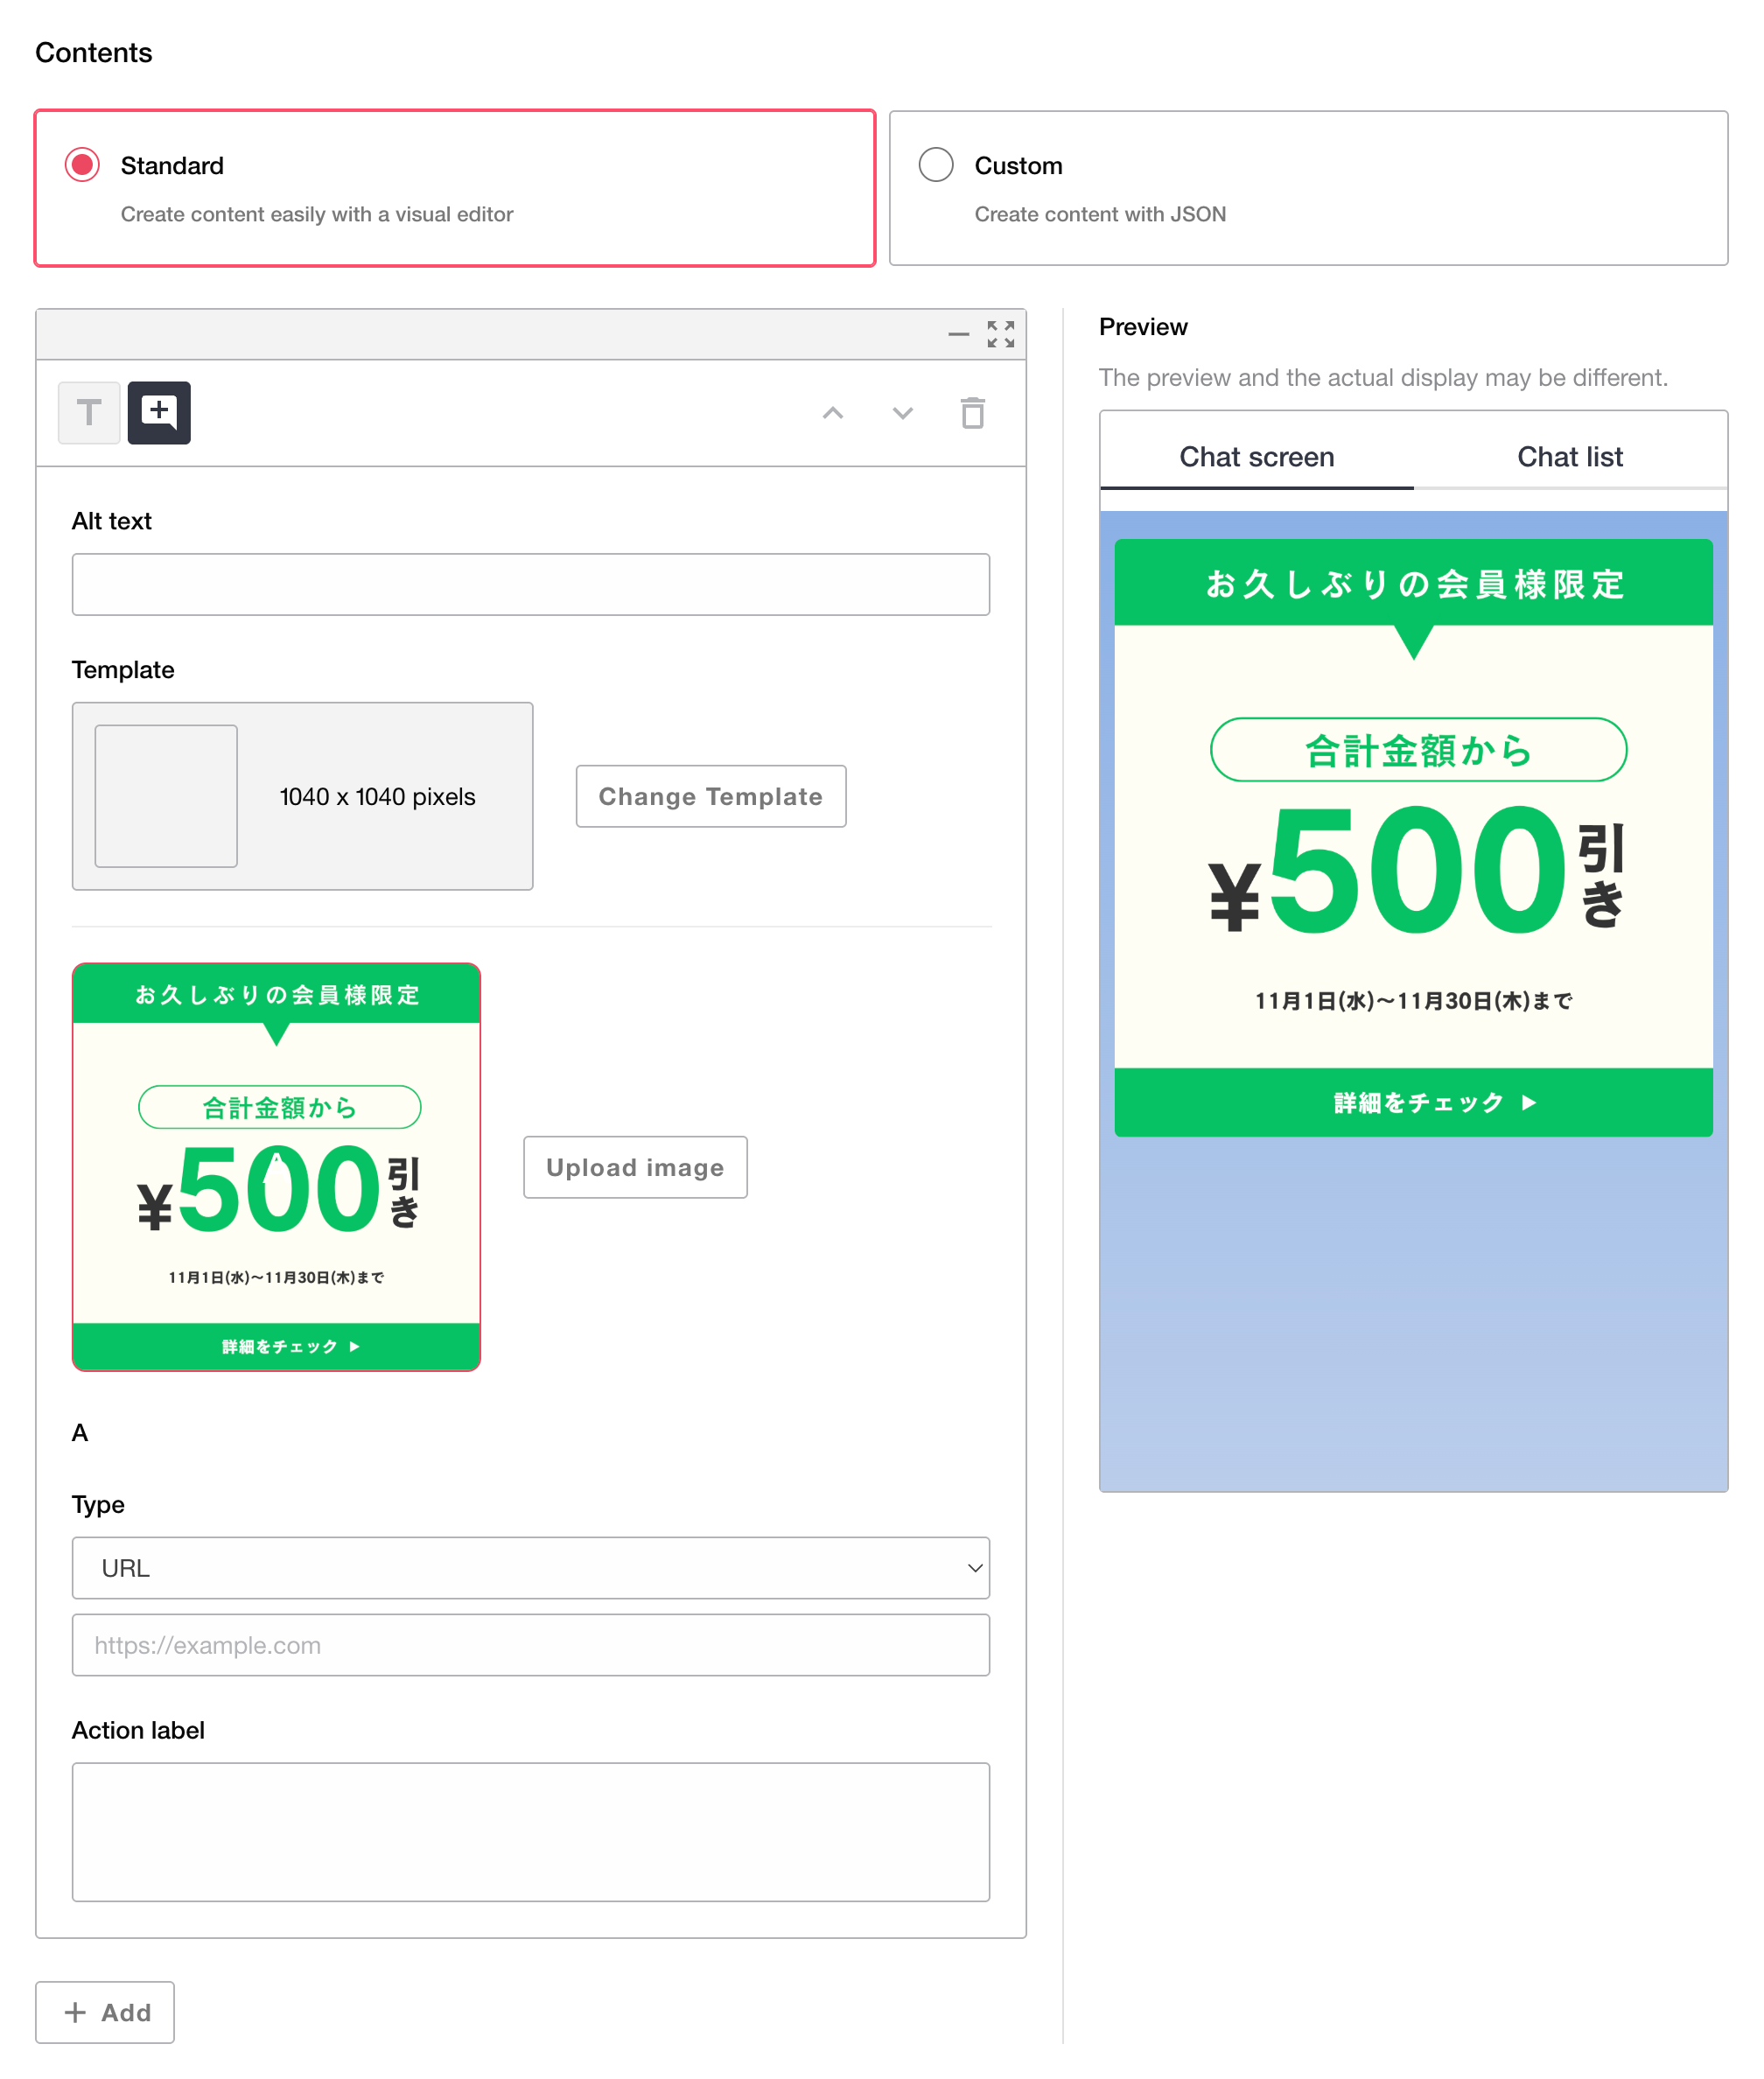
Rich messages combine images and links to deliver visually impactful content, helping increase click-through and conversion rates.
Enter alternative text
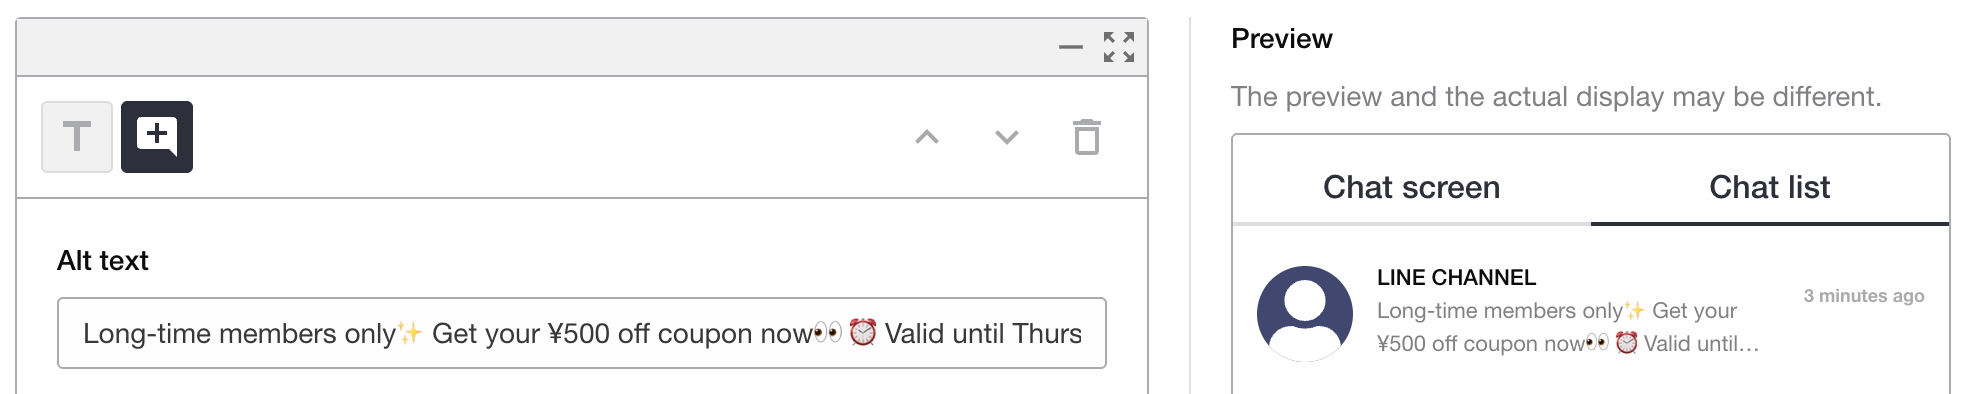
Alternative text appears in notifications and talk lists when the user receives the message. You can preview it by switching to the Talk List tab in the preview panel.
Note
Alternative text is required.
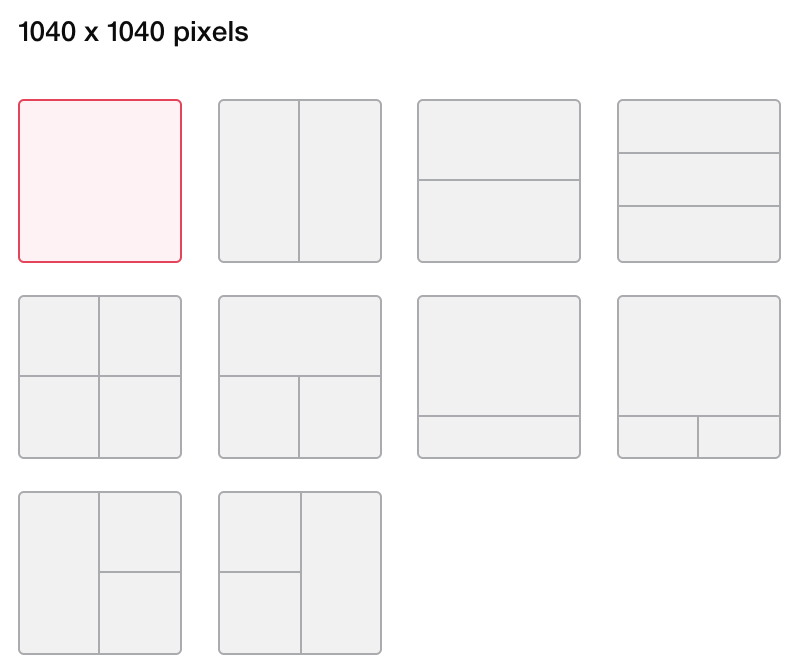
Select a template
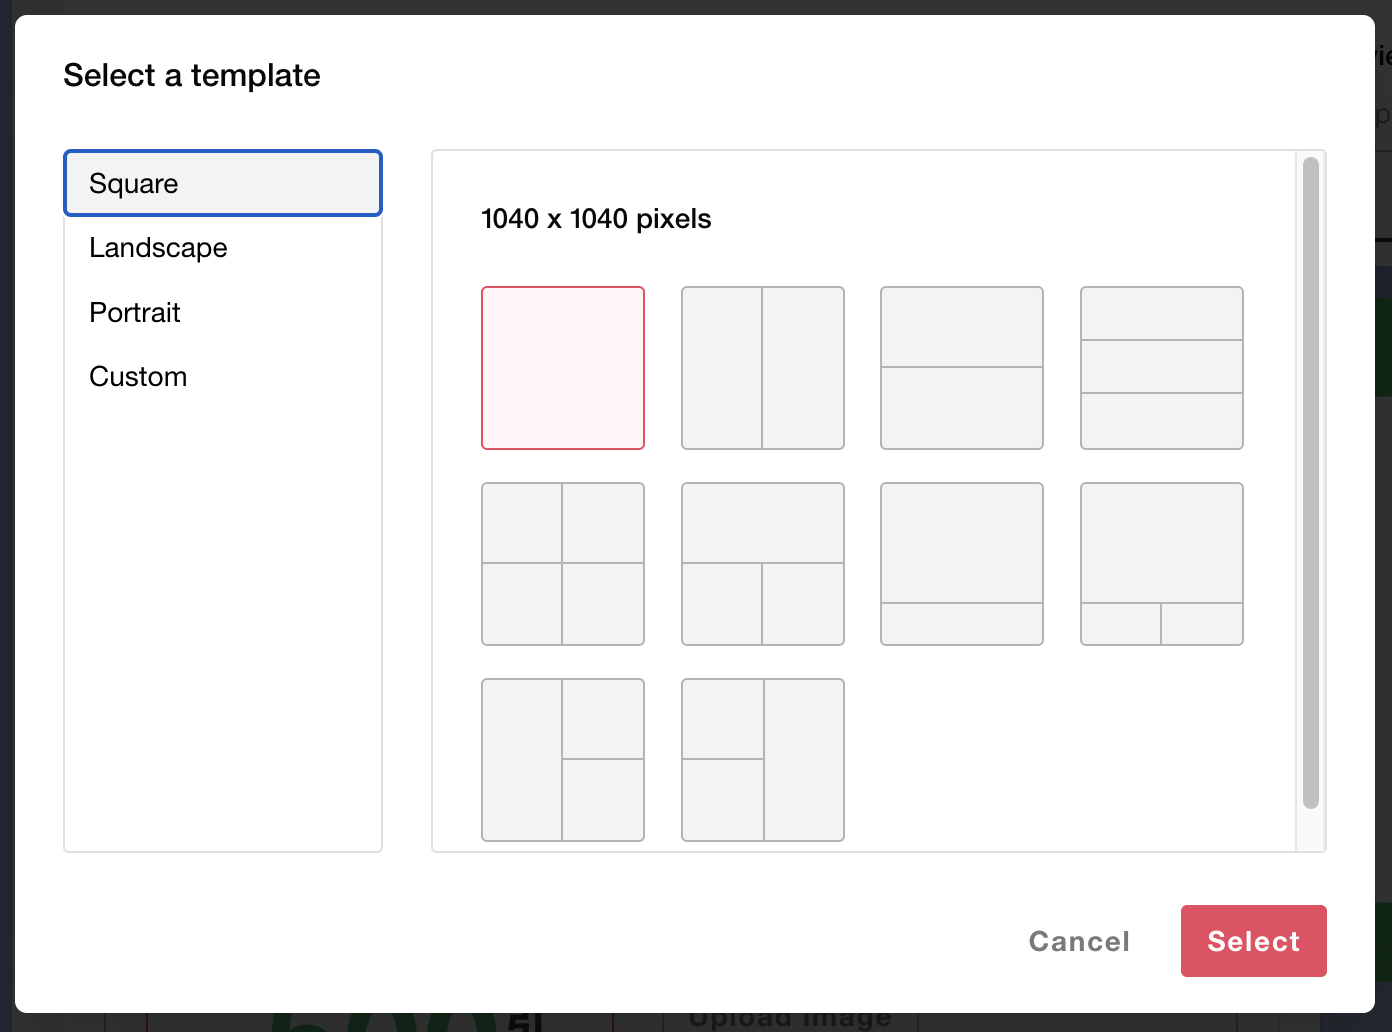
A rich message can have up to four clickable areas, each configured with a link or message action. Different templates offer various layout options. Click the desired template and then click [Select].
Square template
Horizontal template

Vertical template

Custom template
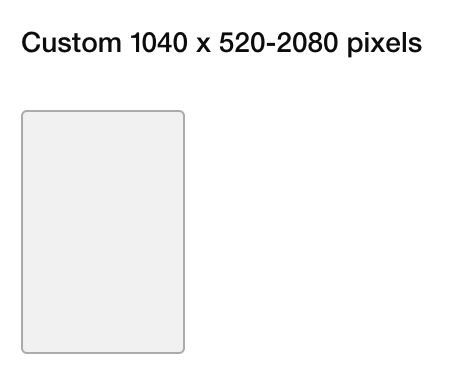
Custom templates have a fixed width of 1040px and support variable heights from 520px to 2080px.
Note
Only JPEG and PNG image formats are supported. GIF and WebP formats are not supported.
Images must match the resolution specified by the selected template.
The maximum file size for images is 10 MB.
Assign actions to template areas
URL Action
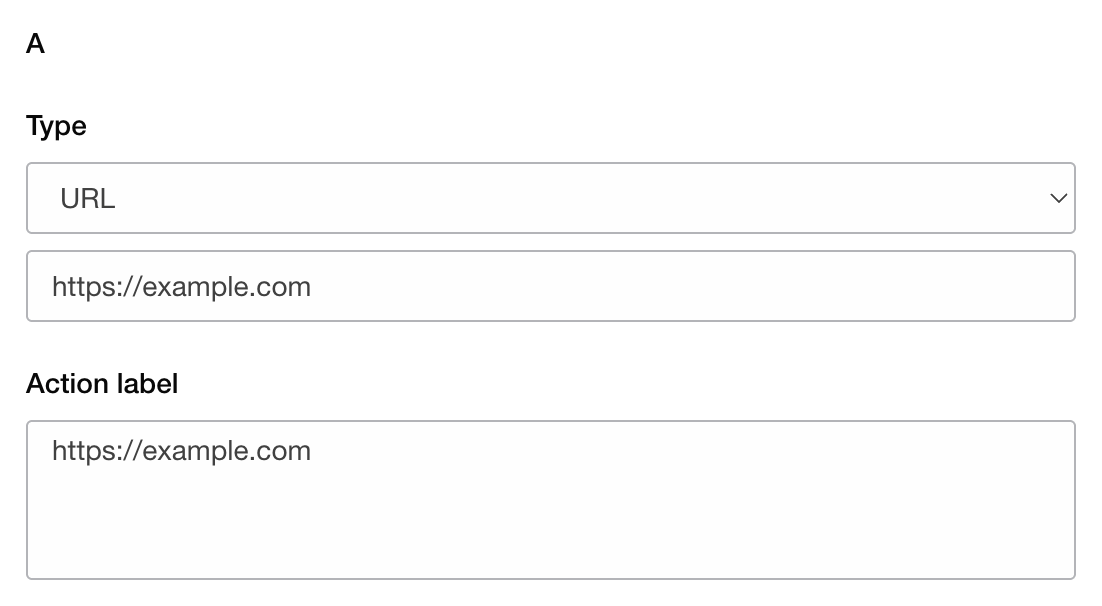
When the area is tapped, the user is redirected to the specified URL.
Action Label (optional) — Read aloud by accessibility features on user devices. You can enter up to 100 characters to describe the link destination or purpose.
Note
Deep links cannot be set in URLs.
Text Action
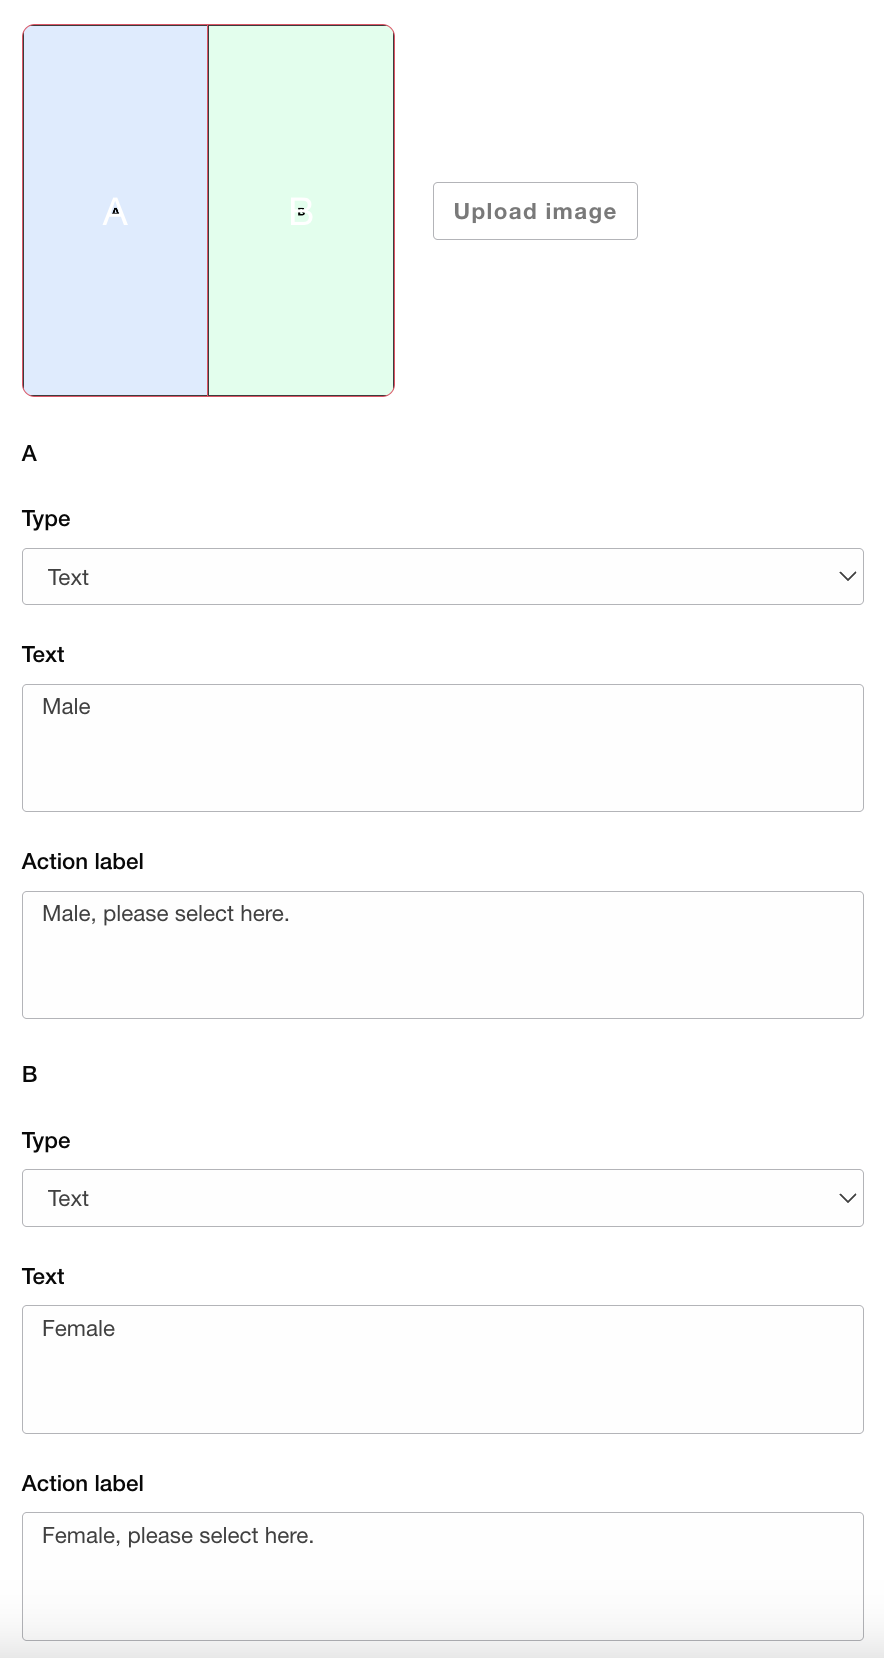
Text — When the area is tapped or clicked, the specified text is sent to the chat room. If the text matches a keyword configured in your auto-response settings, a predefined message will be automatically sent in reply.
Action Label (optional) — Read aloud by accessibility features on user devices. You can enter up to 100 characters to describe or summarize the message content.
Once all areas have been assigned actions, the rich message setup is complete.
Create a card type message
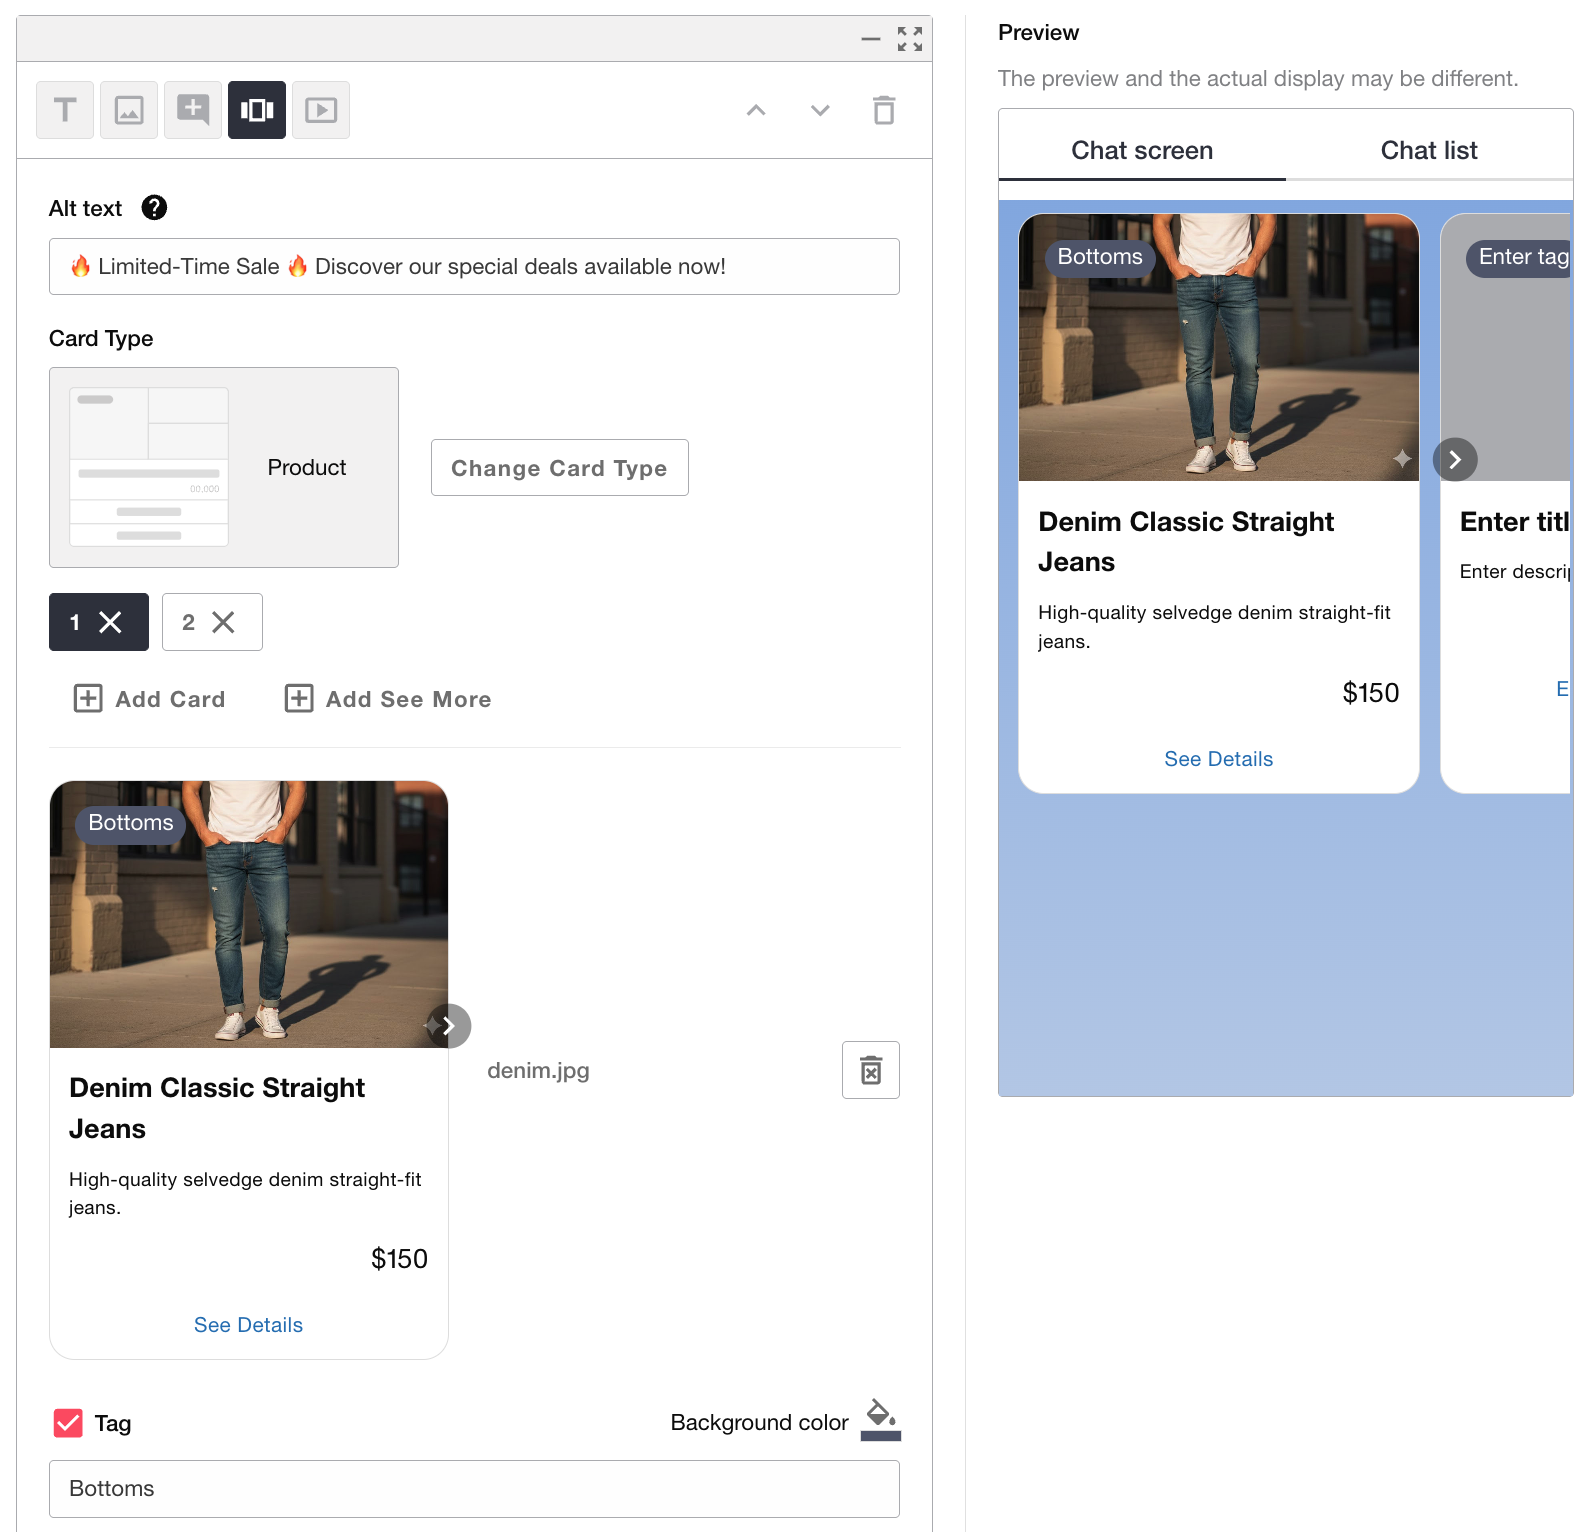
Card type messages allow you to send multiple pieces of content combined into one message in a carousel format.
Enter alternative text

Alternative text is the text displayed in device notifications, talk lists, and quoted messages.
Note
Alternative text is required.
You can enter up to 1,500 characters.
Select a card type
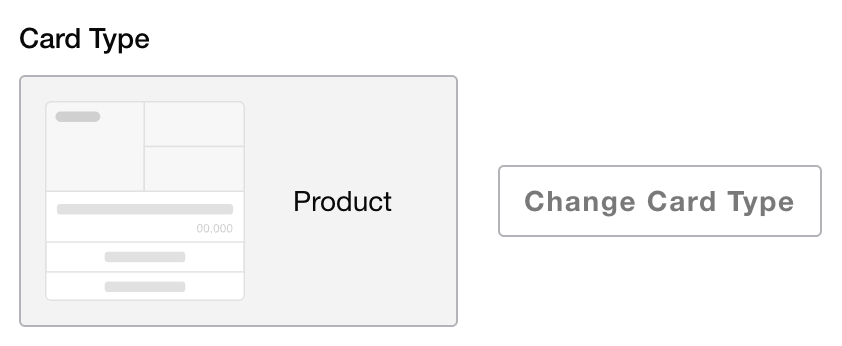
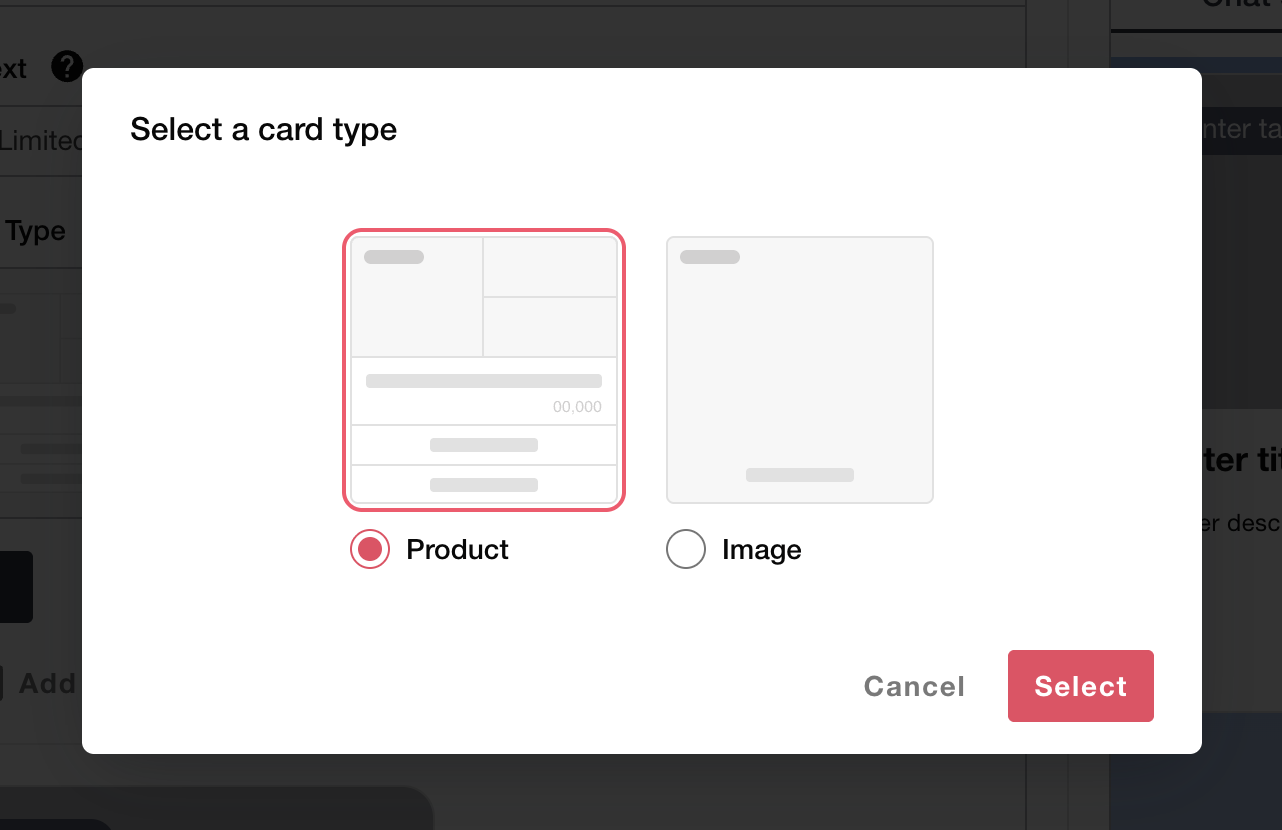
You can choose from two card types: Product and Image. Click the [Change Card Type] button to open a dialog where you can select a card type.
Warning
Changing the card type will discard the current card content.
Product

The Product type is a card format well suited for showcasing products or menus. It is the most standard card type and can be flexibly used for a wide range of purposes.
You can configure an image, tags, title, description, price, and action buttons. All items except required fields can be shown or hidden using checkboxes.
items |
Required |
Description |
|---|---|---|
Image |
Yes |
Upload an image to display on the card. File format: JPG, JPEG, PNG. File size: 10 MB or less. |
Tag |
Enter the tag text to display in the upper left of the image. The background color can be customized with the color picker. Use the checkbox to toggle visibility. |
|
Card title |
Yes |
Enter a title such as the product name. |
Description |
Enter the product description. |
|
Price |
Set the price and currency symbol. |
|
Action 1 |
Set the button label and the action when the button or entire card is tapped (URL or send text). |
|
Action 2 |
You can set a second action button. |
Image
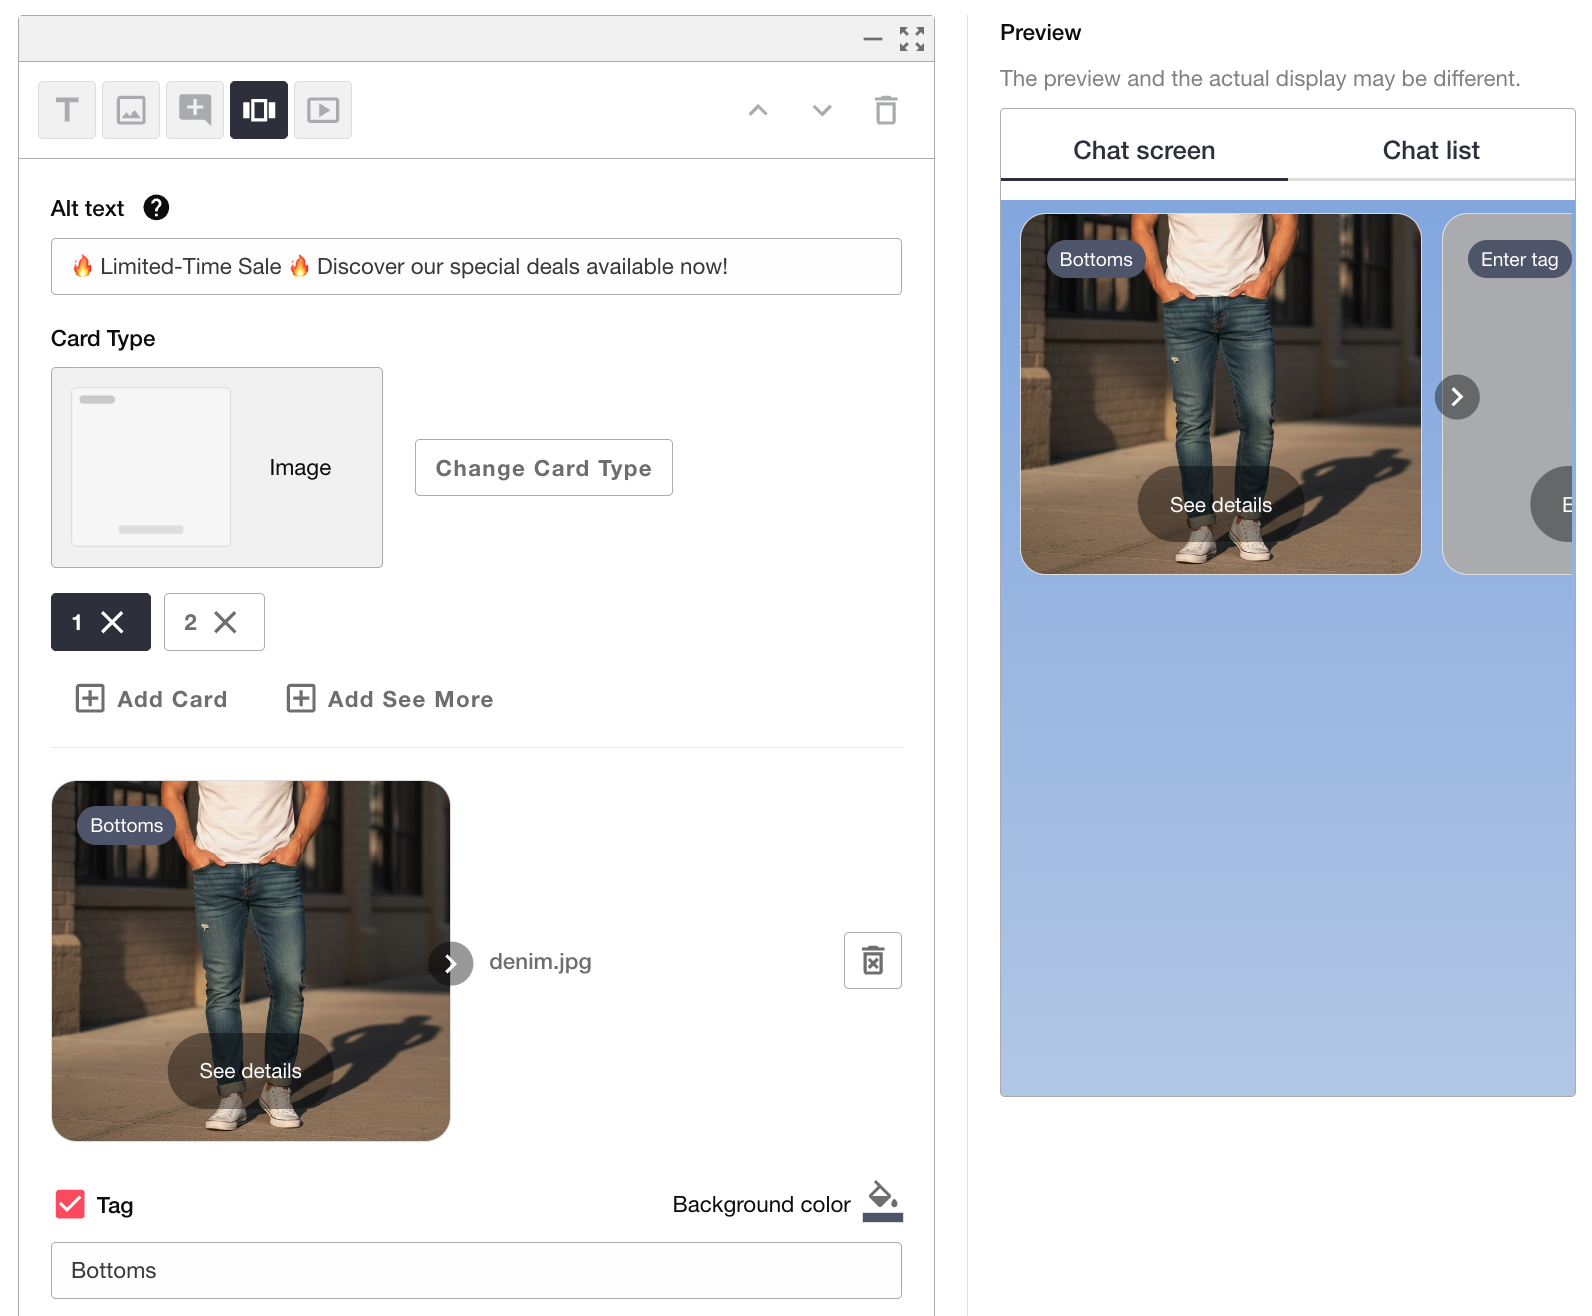
The Image type is suitable for photo-focused presentations of campaigns or products. You can set an image, tag, and action button.
items |
Required |
Description |
|---|---|---|
Image |
Yes |
Upload an image to display on the card. File format: JPG, JPEG, PNG. File size: 10 MB or less. |
Tag |
Enter the tag text to display in the upper left of the image. The background color can be customized with the color picker. Use the checkbox to toggle visibility. |
|
Action |
You can configure the button text and the action triggered when tapped. The action set in Action 1 is applied to the entire card. For example, if URL 1 is set for Action 1 and URL 2 is set for Action 2, tapping Action 2 will navigate to URL 2. Tapping the image, title, or any area other than Action 2 (including Action 1) will navigate to URL 1. |
Add and edit cards
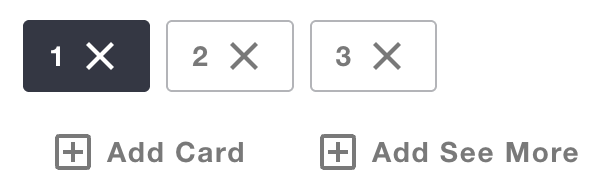
Click the [Add Card] button to add a card. Click the card tabs or the arrows displayed in the carousel to switch between cards for editing.
Note
You can add up to 9 cards.
If there are errors when saving, the first card with an error will be automatically focused.
Cards with input errors are displayed with a red border on the tab.
Add a See More card
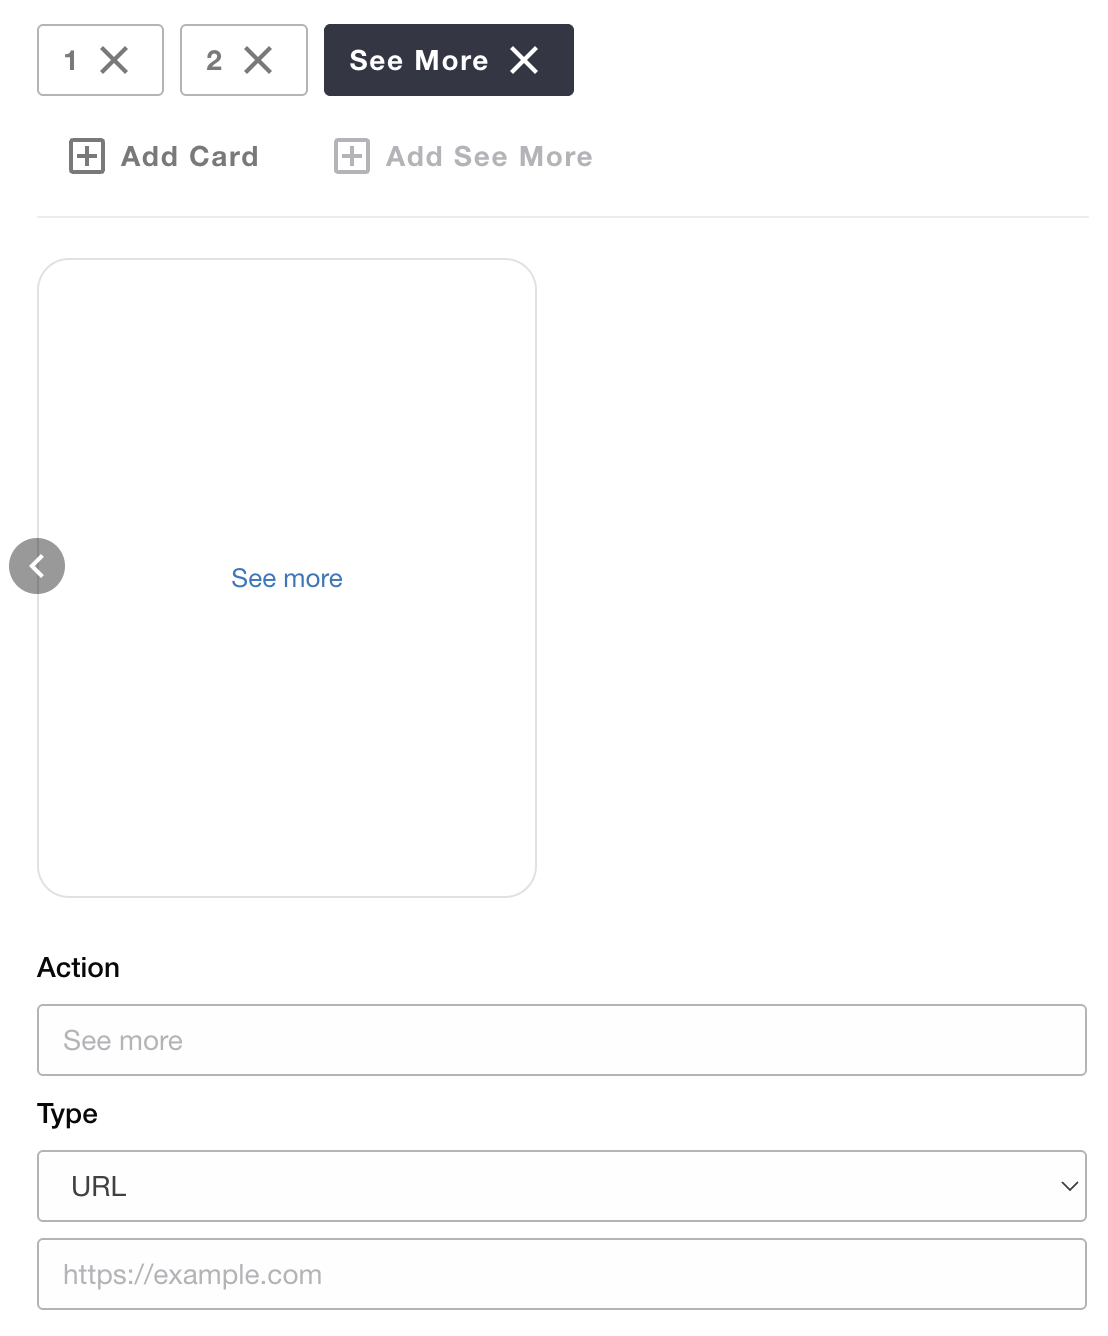
Click the [Add See More] button to add a “See More” card at the end of the carousel. Using the See More card, you can guide interested users to your website to provide more detailed information.
items |
Required |
Description |
|---|---|---|
Action |
Yes |
Enter the text to display on the card (such as “See More”). |
Type |
Yes |
Select the action type when tapped (URL or send text). |
URL/Text |
Yes |
For URL, enter the destination. For text, enter the message to send. |
Note
Only the https scheme is supported for URLs.
Delete a card

Click the [×] button on the card tab to delete the card. A confirmation dialog will appear before deletion.
Note
At least one card is required. You cannot delete all cards.
Create a rich video message
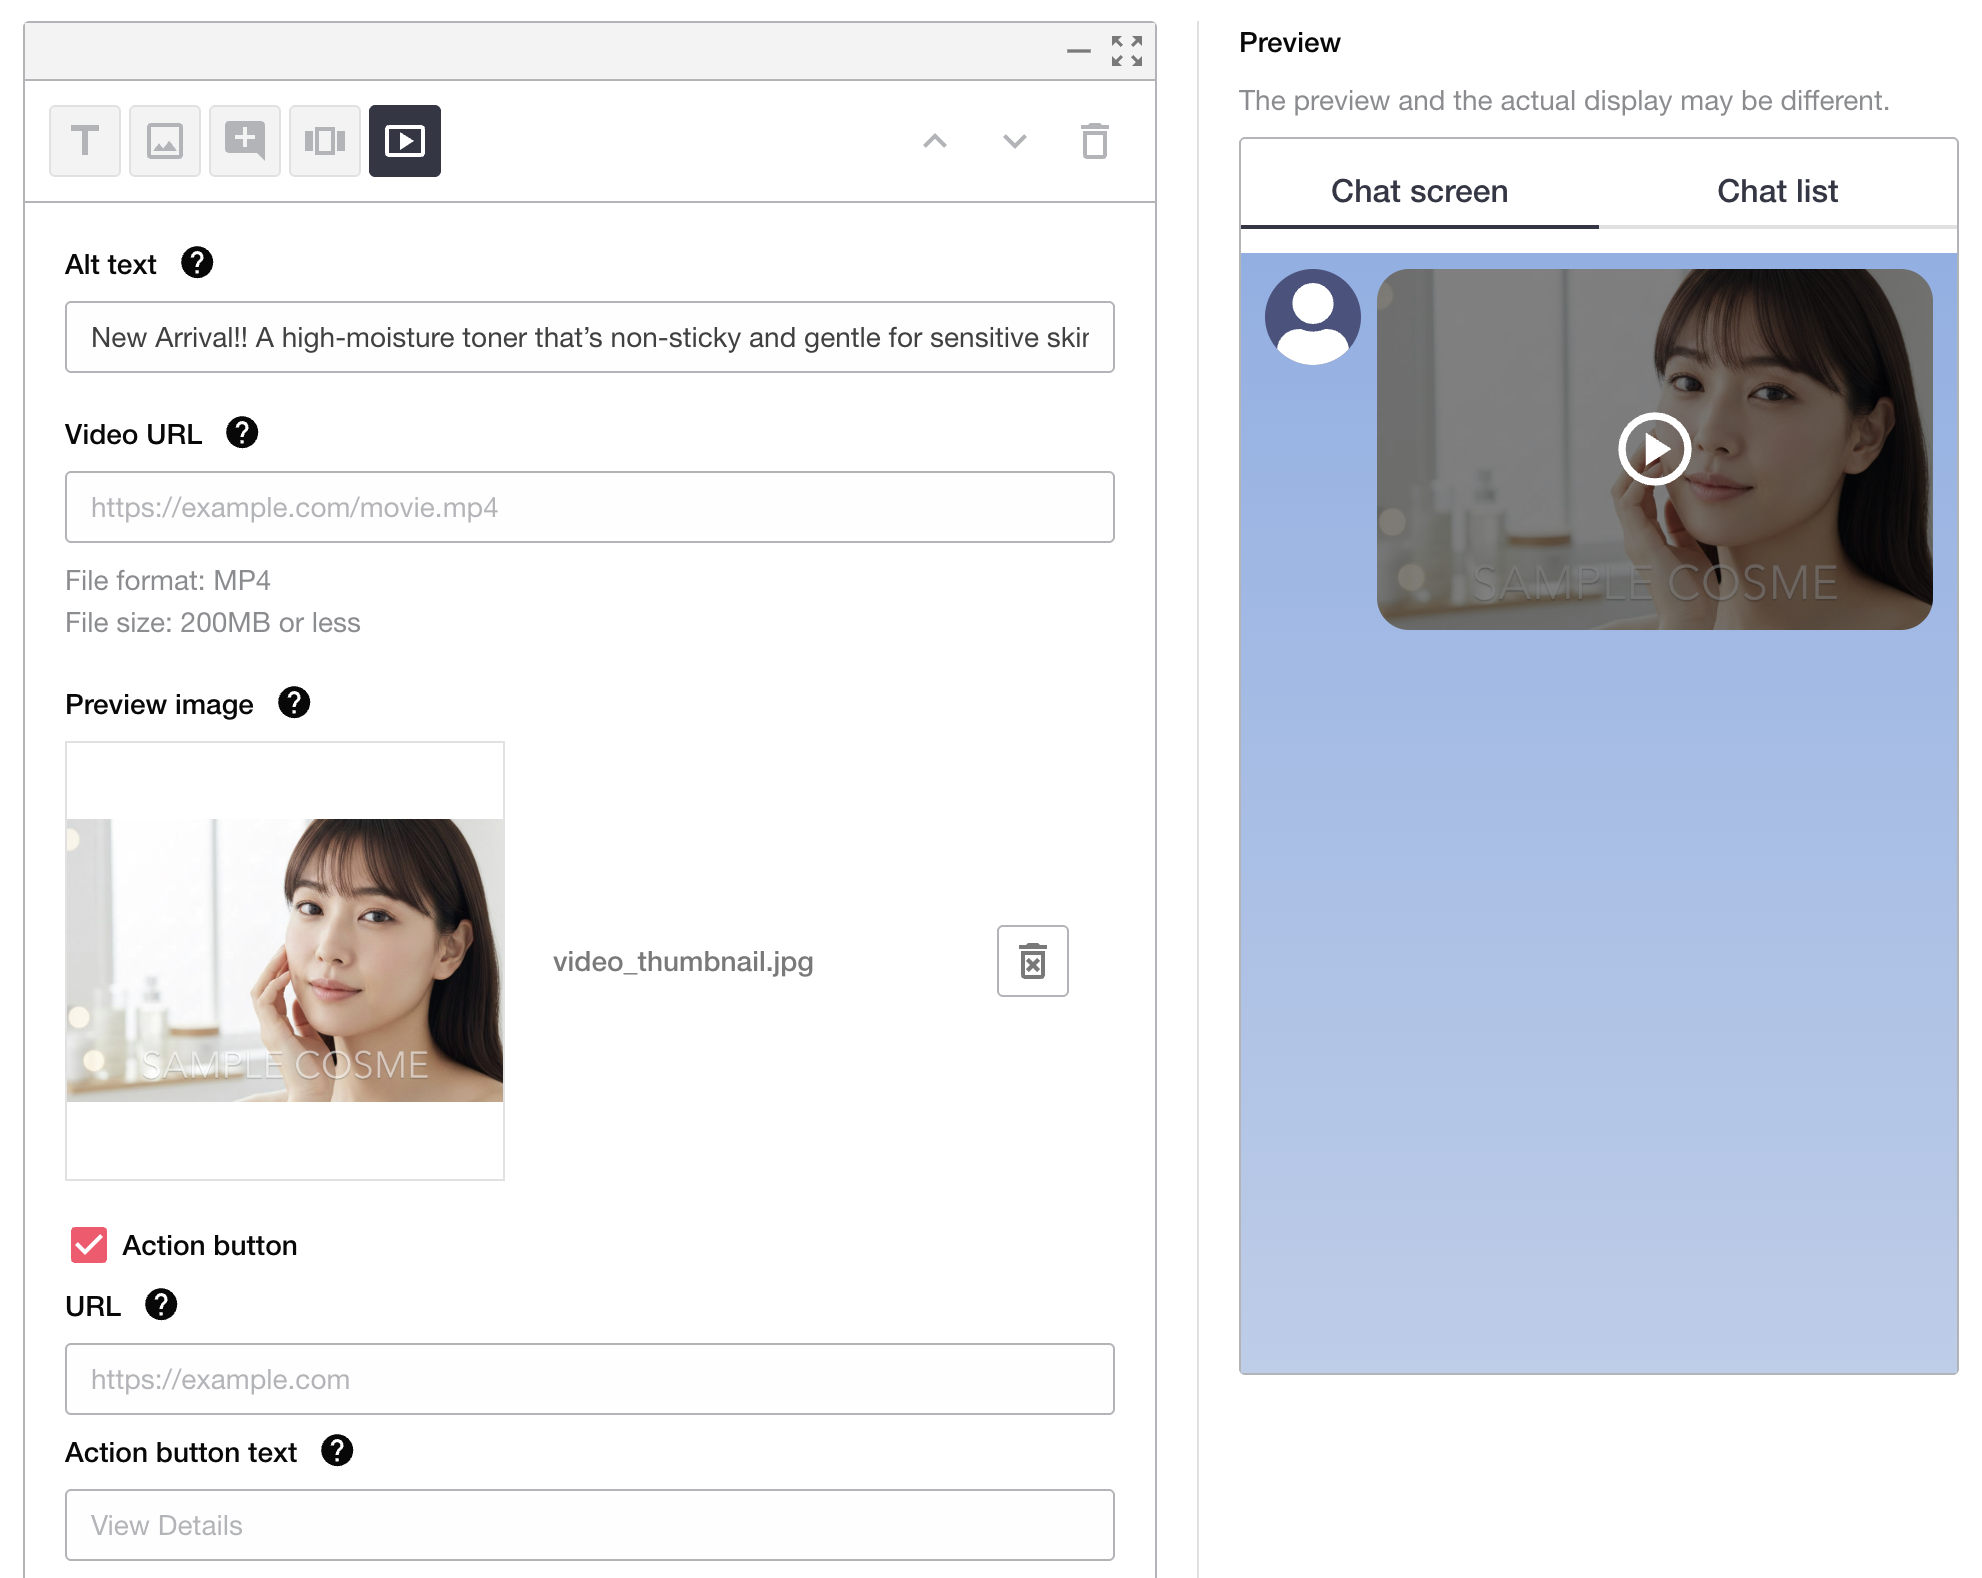
Rich video messages are messages that can deliver videos. The video plays automatically or upon user tap, and after playback completes, you can prompt users to take any desired action. Since users can directly be guided to any desired action after watching the video, displaying links to product pages or corporate websites introduced in the video can significantly enhance conversion rates.
Note
When sending videos with excessively vertical or horizontal dimensions, some environments may display partial video clipping.
The LINE versions that support video are as follows:
LINE for iOS and Android: 11.22.0 or later
LINE for macOS and Windows: 7.7.0 or later
If the LINE version does not support video, the preview image is displayed instead.
Enter alternative text

Alternative text is the text displayed in device notifications, talk lists, and quoted messages.
Note
Alternative text is required.
You can enter up to 1,500 characters.
Enter the video URL
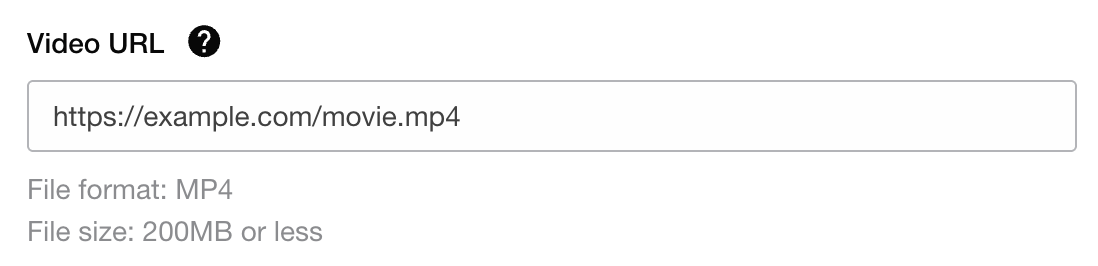
Enter the URL of a video hosted on your CDN or other service. Only HTTPS URLs are supported.
Note
File format: MP4
File size: 200 MB or less
Use a video with the same aspect ratio as the preview image.
Upload a preview image
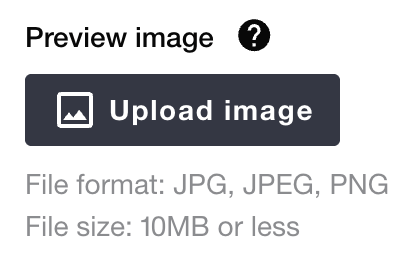
Upload the thumbnail image displayed before video playback. Use an image with the same aspect ratio as the video. If different, parts of the video may be clipped on some devices.
Note
File format: JPG, JPEG, PNG
File size: 10 MB or less
The height cannot exceed 3 times the width.
The server hosting the video must support HTTP range requests.
Set an action (optional)
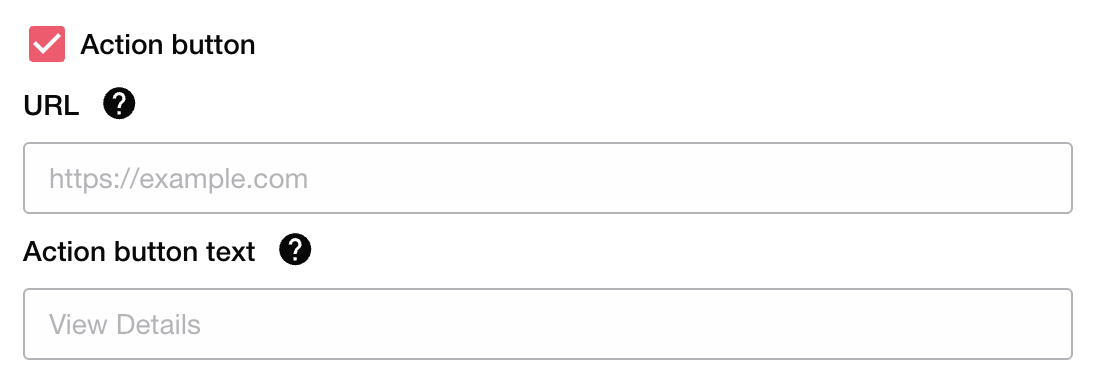
When an action button is set, it appears after the video ends for autoplay, or during and after playback for tap-to-play.
URL Enter the URL that will be opened when tapped. Only HTTPS URLs are supported.
Action button text Enter the text to display on the action button.
Deliver the message
After entering the campaign details, publish the campaign. The LINE message will be delivered according to the configured delivery settings and content.
Warning
Before sending to users, always perform a test delivery to confirm that the message displays correctly and that all links redirect to the correct destinations.
Check campaign measurement for LINE messages
Delivery Result
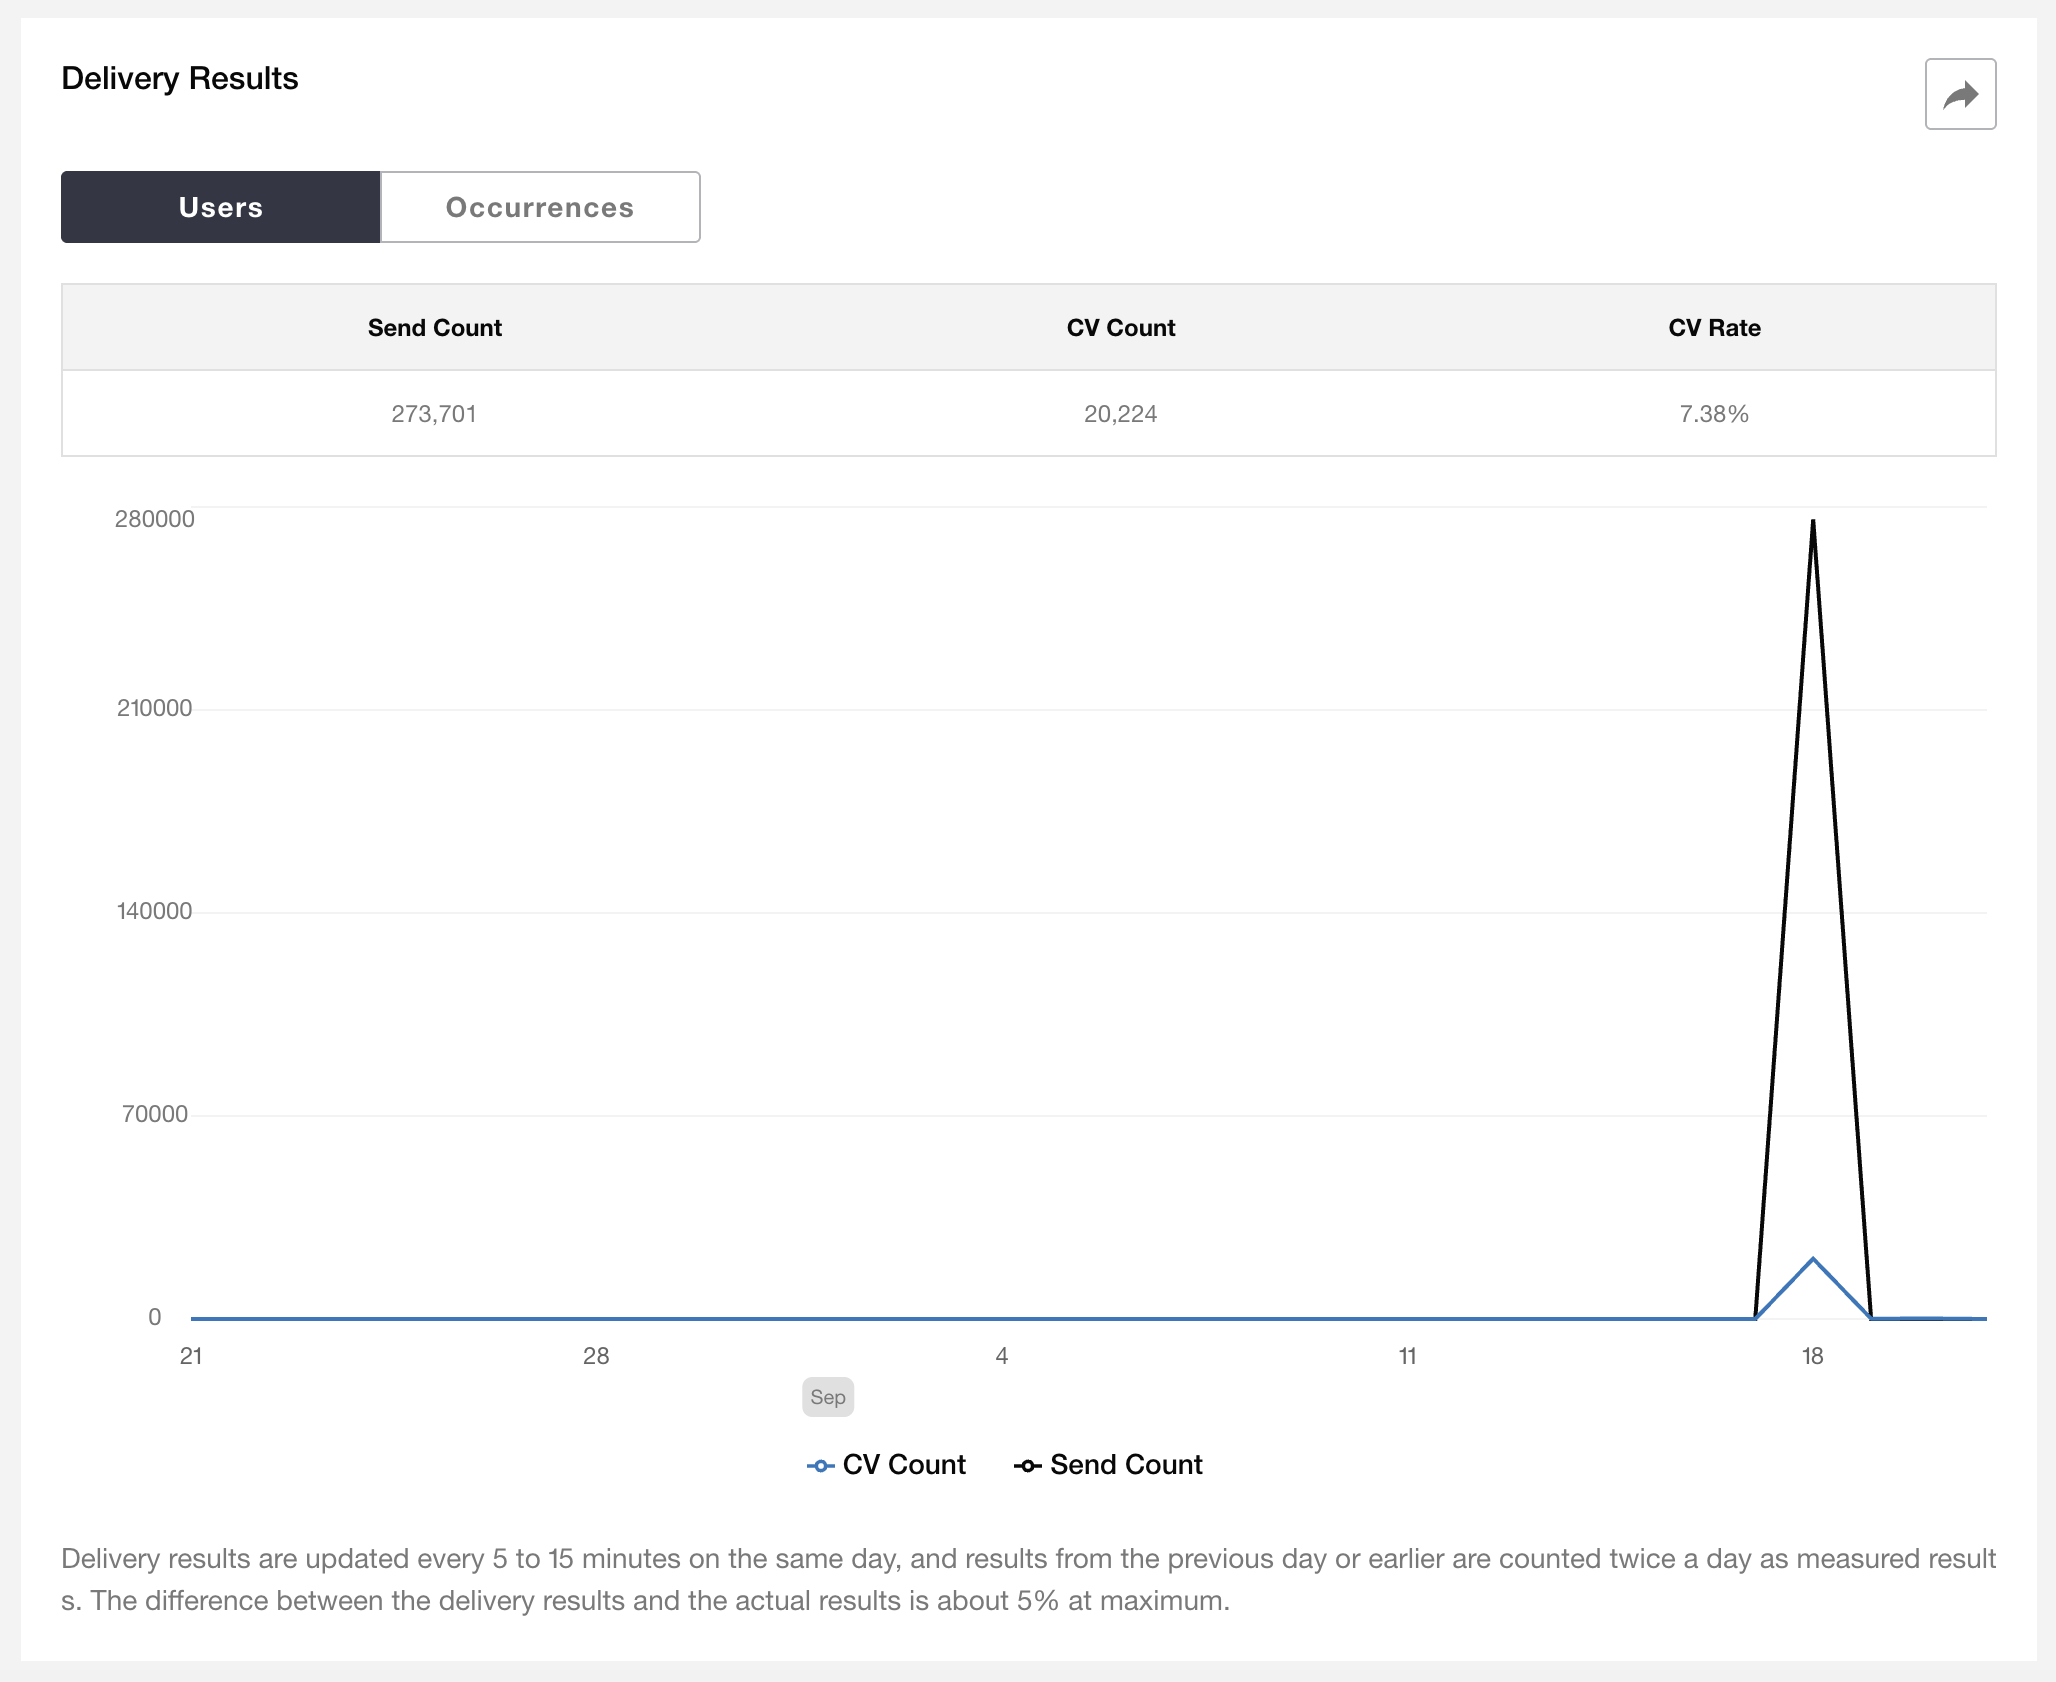
Measurement metrics
Unique Users — The number of users aggregated per delivery result item.
Total Count — The total number of recorded deliveries or interactions.
Sent Count — The number of messages successfully accepted by the LINE Messaging API.
Conversions (CV) — The number of unique users who converted within 24 hours after delivery.
Conversion Rate (CVR) — Calculated as
CV / Opens.
Download measurement data
Click the button in the top-right corner of the delivery results screen to download CSV data for the entire campaign period.